

AS9100D
Introduction to RK1001B-COC Kit

COC Aerospace Inc developed it’s proprietary RK1001BCOC Kit to replace the original USAF RK1001B Kit, designed in early 1990s, which is discontinued.
COC’s RK1001B-COC Kit incorporates far superior design from the original USAF tool because our Kit uses secure Clamps instead of thumb screws. This ensures the longeron remains securely held in place and ensures proper hole transfer from old longeron to new longeron.
COC’s tool includes Reamer and tools for 0.5220” Splice Bolt Holes that USAF kit does not.
COC’s RK1001B-COC Kit is Proprietary with Patent Pending #15/847,834.


USER MANUAL: RK1001B-COC KIT
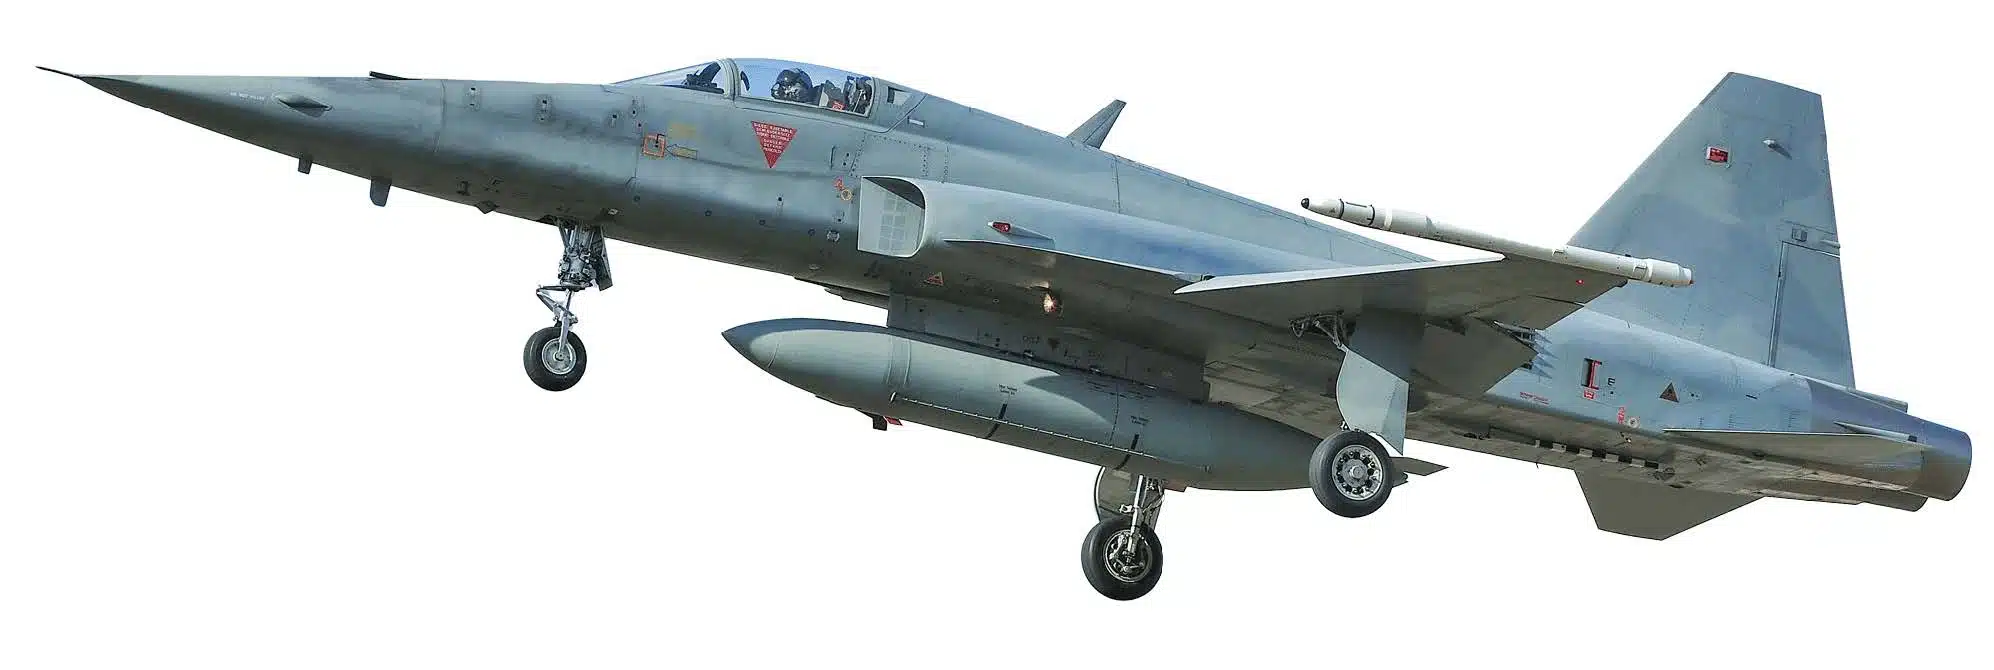
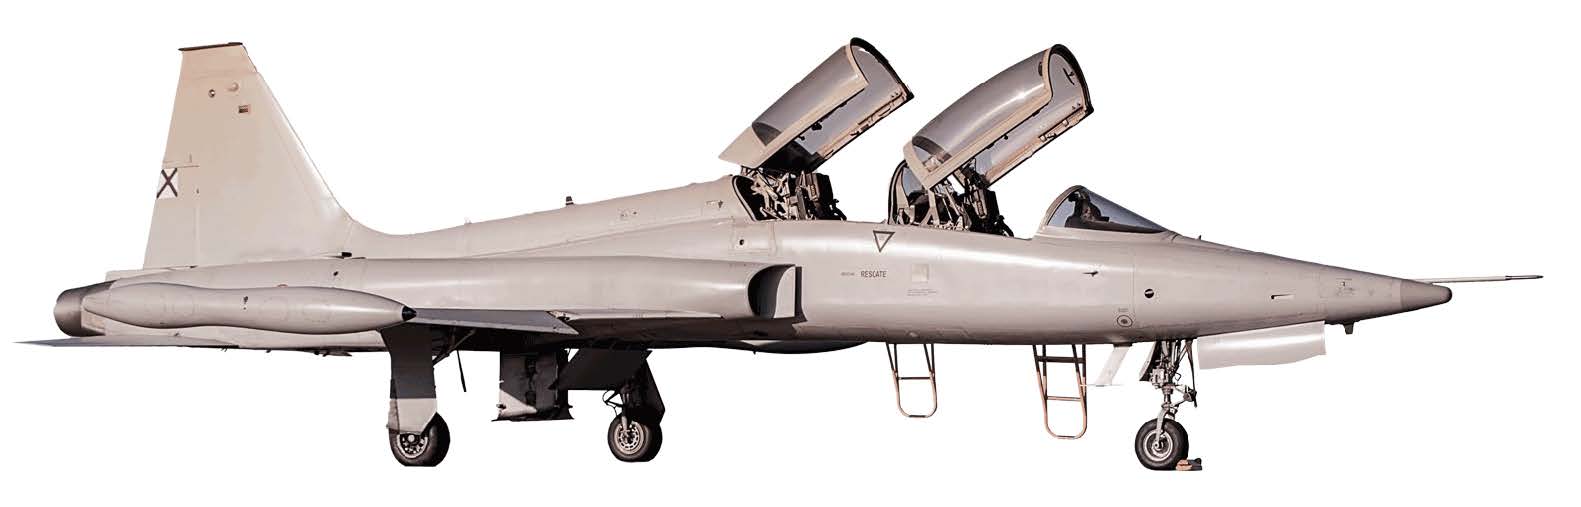
F-5E & F LOWER LONGERON HOLE TRANSFER TOOL WITH 0.5220 REAMER TOOL
COC’s RK1001B Kit includes the 0.5220” Reamer Drill Bushing, Reamer and handle that the USAF tool did not have.
COC’s tool ensures that the 0.5220” splice bold holes, located at FS-284, are securely and accurately transferred from the old, removed longeron to the new one.

RK1001B-COC Kit Bill of Materials


Step 1
Remove Lower Cockpit Longerons, Part Number 6-10307-1 / -2 from aircraft located at Fuselage Station FS-194 to FS-284 following COC Aerospace Work Instructions (COC-RK1001 WORK-CARDS).


Step 2
Install the longeron into the COC tool as shown and engage clamps.
Adjust the length of the clamp plungers to ensure adequate pressure is transferred to the longeron to prevent any movement.


Step 3

Install ½” Drill Bushing into the lower hole in the Bushing Holder in the Base Plate of the Tool.
Ensure that the screws for the Bushing Holder are loose and Bushing Holder can move around on the Base Plate.
Insert the 0.4995 Guide Pin into the ½” Drill Bushing and push the Guide Pin into the existing lower Splice Bolt hole in the old longeron.
The Splice Bolt hole in the old longeron is 0.5220” in diameter, therefore the 0.4995” pin should fit slightly loose in this hole. Lightly tighten lower Bushing Holder.


Step 4
Remove the 0.4995” Guide Pin and ½ “ Drill Bushing from lower Bushing Holder.
Install the ½” Drill Bushing and 0.4995” Guide Pin into the upper Bushing Holder and push the Guide Pin into the existing upper Splice Bolt hole in the old longeron, same procedure as the lower hole.
Lightly tighten upper Bushing Holder.


Step 5
Install 0.5220 Drill Bushing into lower Bushing Holder.
Bushing Holder screws should be loose enough so that Bushing Holder can move around on Base Plate.
Ensure that the upper Drill Bushing and 0.4995” are in place in the upper bolt hole and Bushing Holder screws are lightly tightened.
Insert Reamer Tool into lower 0.5220 Drill Bushing. Turn and push the Reamer Handle in a clockwise direction until reamer head is visible on the other side of the Base Plate.
Tip of Reamer should extend through the old longeron lower splice bolt hole about one inch (1”).


Step 5 contd.
Reamer has now centered the lower splice bolt hole.
Tighten the screws on this Bushing Holder so it is firmly secured to Base Plate.
Remove Reamer tool and install 0.5220 Gage Pin.
The lower splice bolt hole is now calibrated for hole transfer to new longeron.

Step 6
Remove ½” Drill Bushing and 0.4995” Guide Pin from the upper hole.
Insert second 0.5220” Drill Bushing into Bushing Holder in upper hole.
Insert Reamer Tool and repeat process of turning Reamer in clockwise direction until it juts out about 1” through old longeron splice bolt hole.
Tighten the Bushing Holder so it is firmly secured to Base Plate. Remove Reamer Tool.

Step 7
Ensure the clamps are adjusted and secure. Install new longeron into tool.
Secure clamps so that the end of the longeron is perfectly flat against the Base Plate and Positioning Block.


Step 8
Install 1/4“ Drill Bushing into lower Bushing Holder.
Use Customer Furnished Drill, 1/4th ” and drill ¼” hole.
Remove drill and insert ¼” Gage Pin into lower hole. Secure Gage Pin with shaft collar.
Insert ¼” Drill Bushing (2 each provided in Kit) into upper Bushing Holder. Drill ¼” hole.
Remove lower ¼” Drill Bushing and Gage Pin.
Insert 3/8” Drill Bushing. Drill 3/8” hole.


Step 8 contd.
Insert 3/8” Gage Pin. Remove upper ¼” Drill Bushing and pin.
Insert 3/8” Drill Bushing and follow same procedures of drilling hole and inserting larger Drill Bushings and Gage pins up to ½” Drill Bushing and Gage Pin.
NOTE: During entire drilling process, Bushing Holders must remain securely fastened to the Base Plate.

Step 9
After drilling final ½” upper longeron bolt hole, insert 0.5220 Drill Bushing into lower hole.
Ensure that upper 1/2” Drill Bushing and Gage Pin are inserted into upper hole.
Insert Reamer into 0.5220 Drill Bushing in lower hole.
Apply small amount of light machine oil to Reamer shaft.
Using smooth motion, apply pressure and begin turning Reamer in clockwise direction.


Step 9 contd.
Continue until Reamer juts out about 1” from new hole in new longeron.
Turn Reamer clockwise and counter-clockwise until Reamer rotates freely in the hole.
Move Reamer to upper hole. Insert 0.5220 Guide Pin into 0.5220 Drill Bushing in lower hole.
Insert 2nd 0.5220 Drill Bushing into upper hole. Repeat process from lower hole.

Congratulations! Both
Both upper and lower splice bolt holes have been accurately transferred from old longerons to new ones.
Repeat process for next longerons. When finished, clean tools carefully and store in RK-1001B-COC tool box.

Thank You
EXPERIENCE - OVER 5 DECADES YEARS SUPPORTING LEGACY AIRCRAFT
CUSTOMER SERVICE - OVER 50 YEARS SUPPORTING THE SAME CUSTOMERS
TRUST - ABOVE ALL, WE ALWAYS DO THE RIGHT THING