AS9100D
F-5 Leading Edge Flap Reskinning and Repair
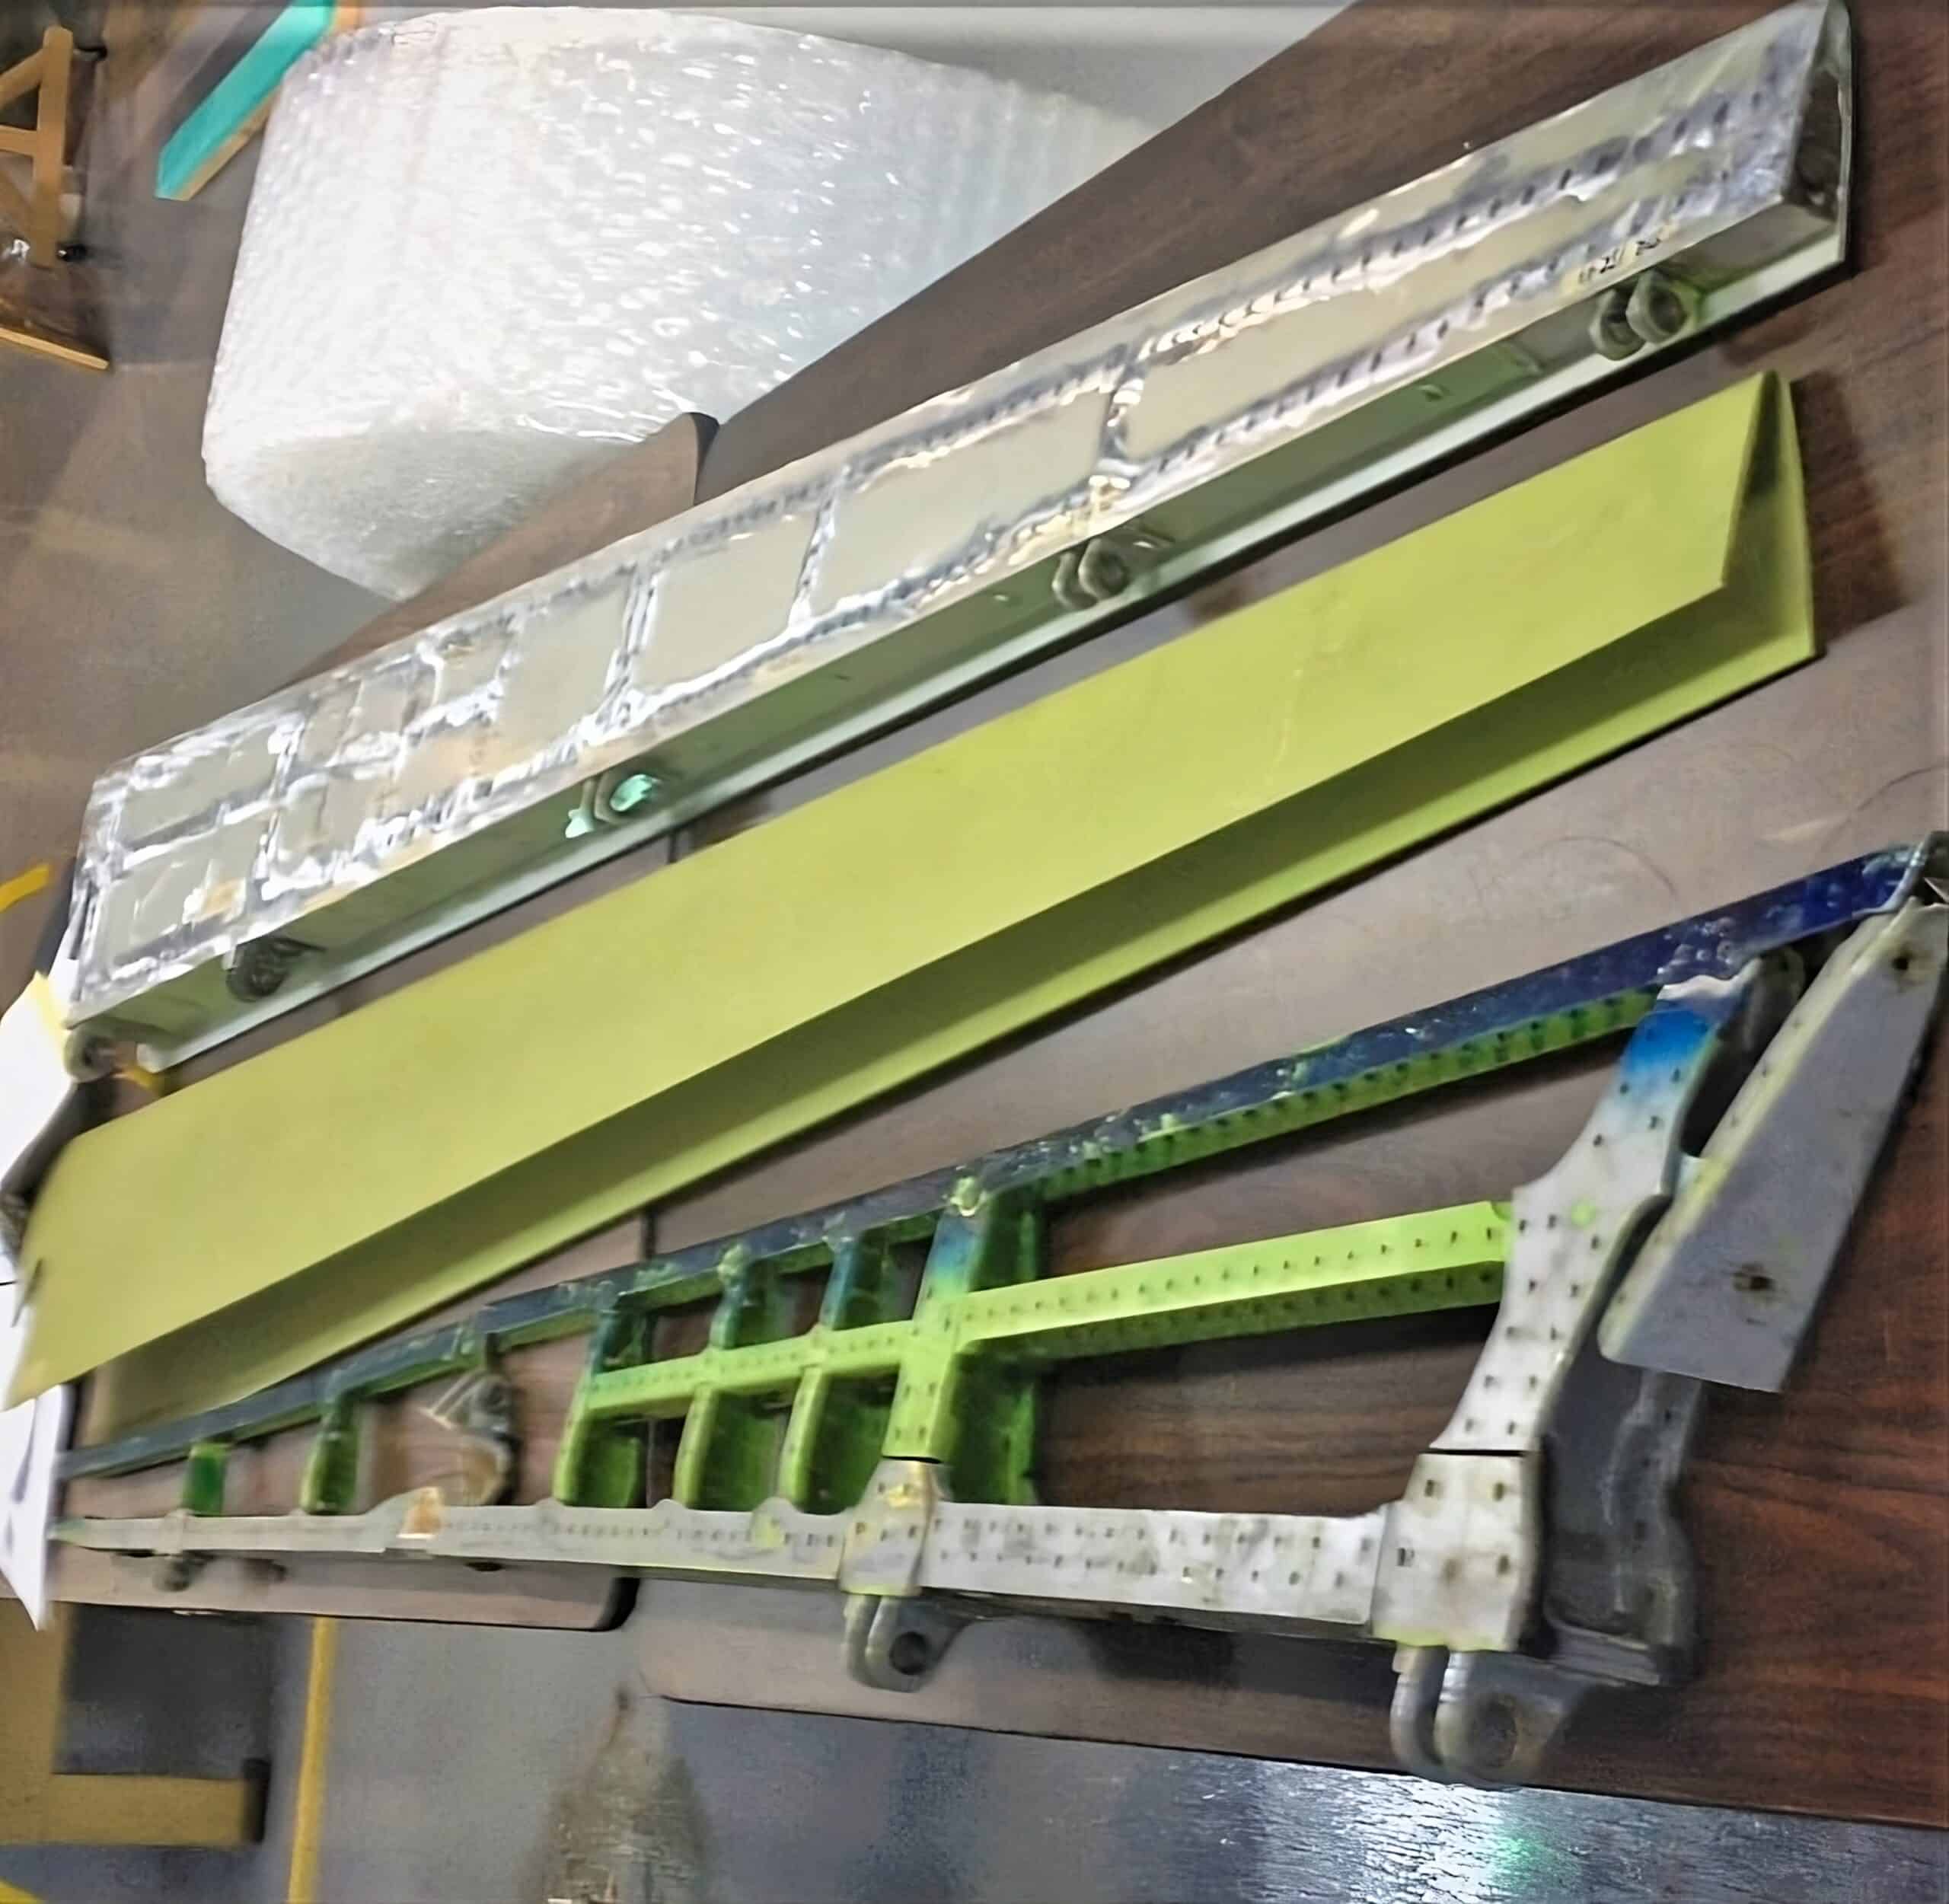
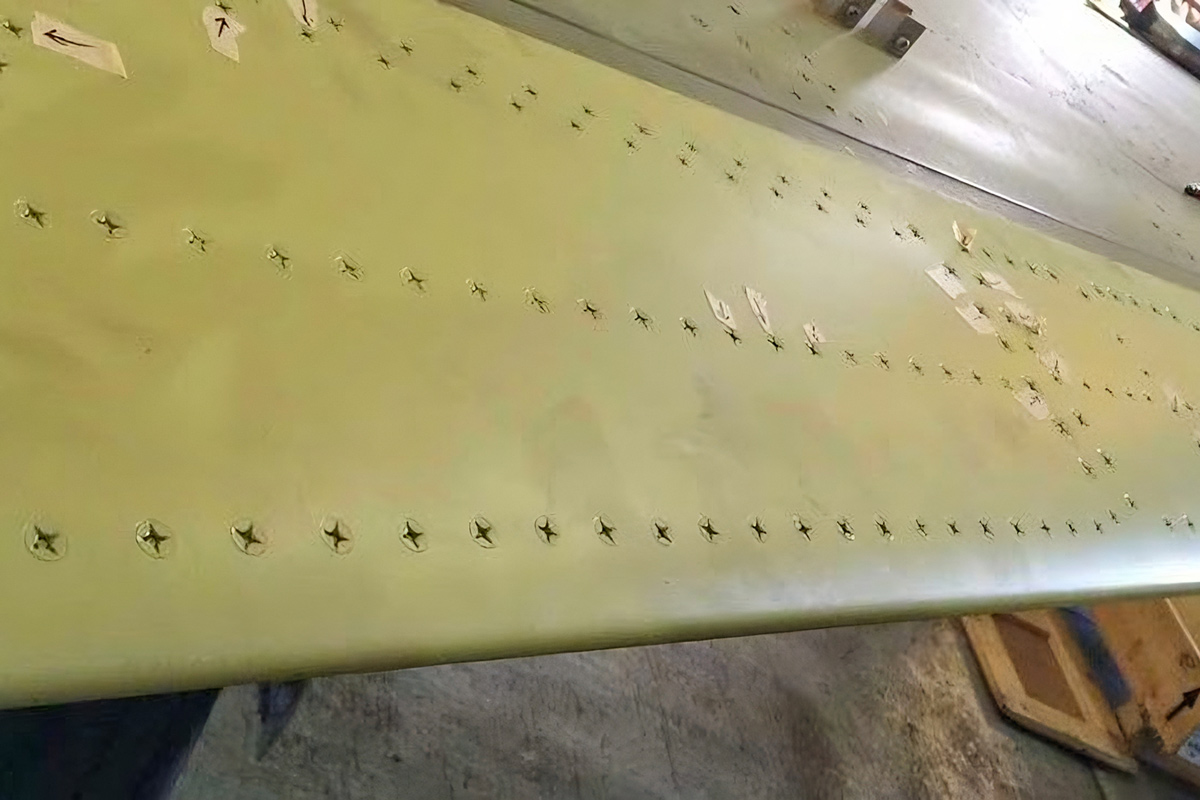
COC Aerospace has developed a highly cost- effective method of reskinning and refurbishing Northrop F-5 Leading Edge Flaps. P/N 14-27200-509 / -510
Measuring Dimensions
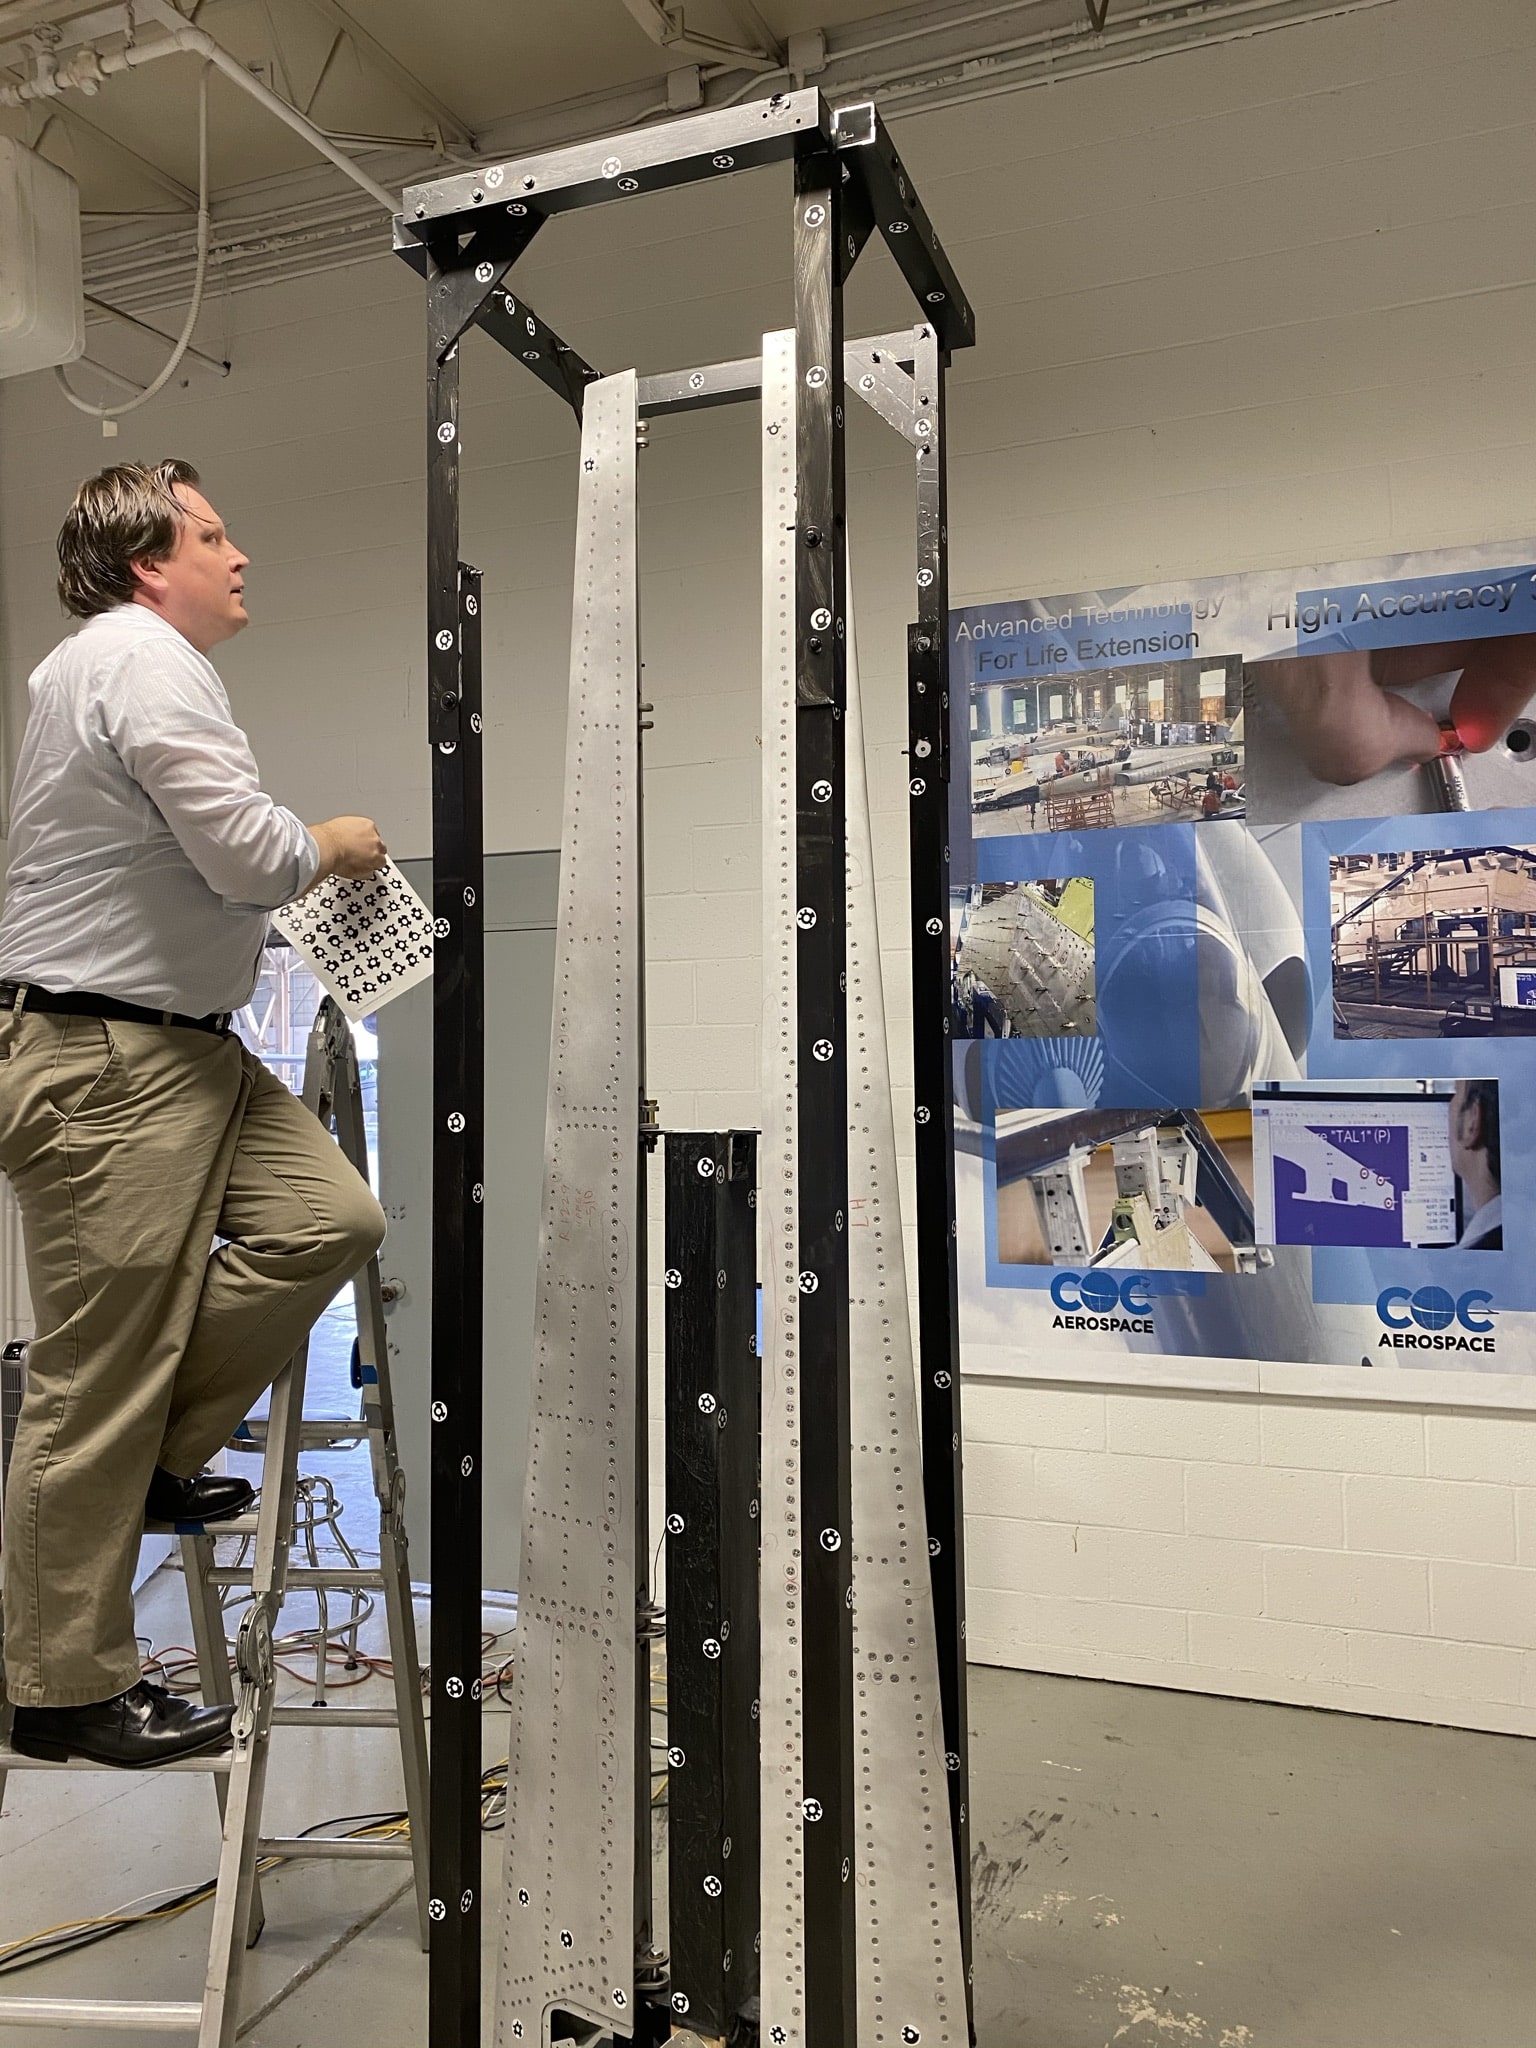
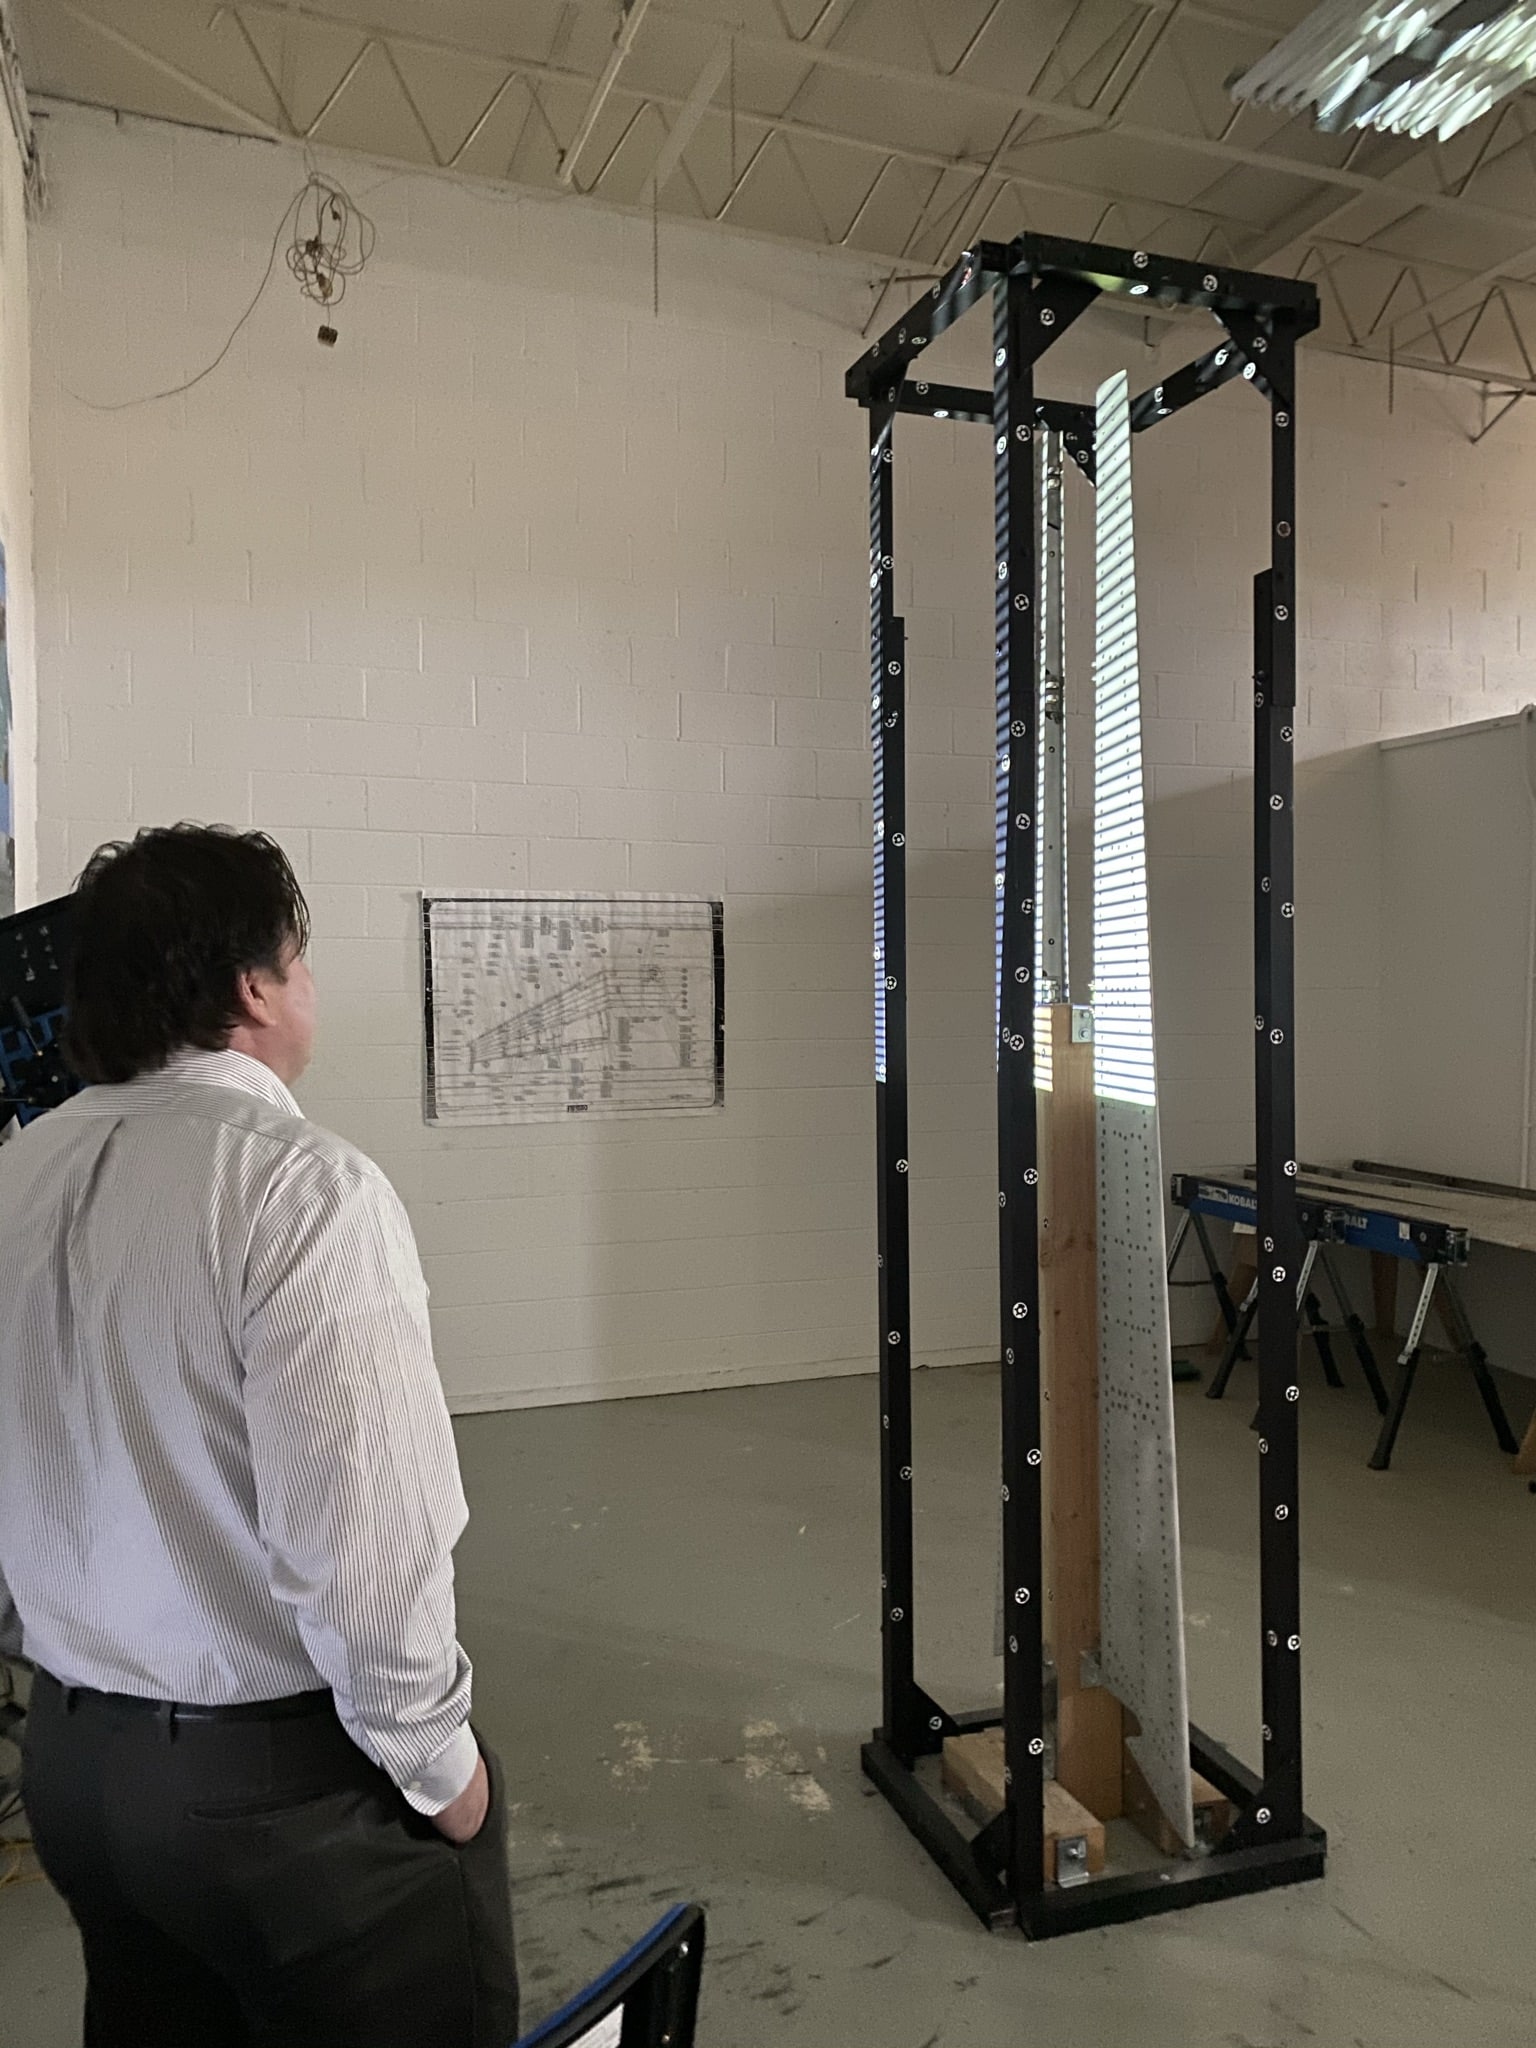
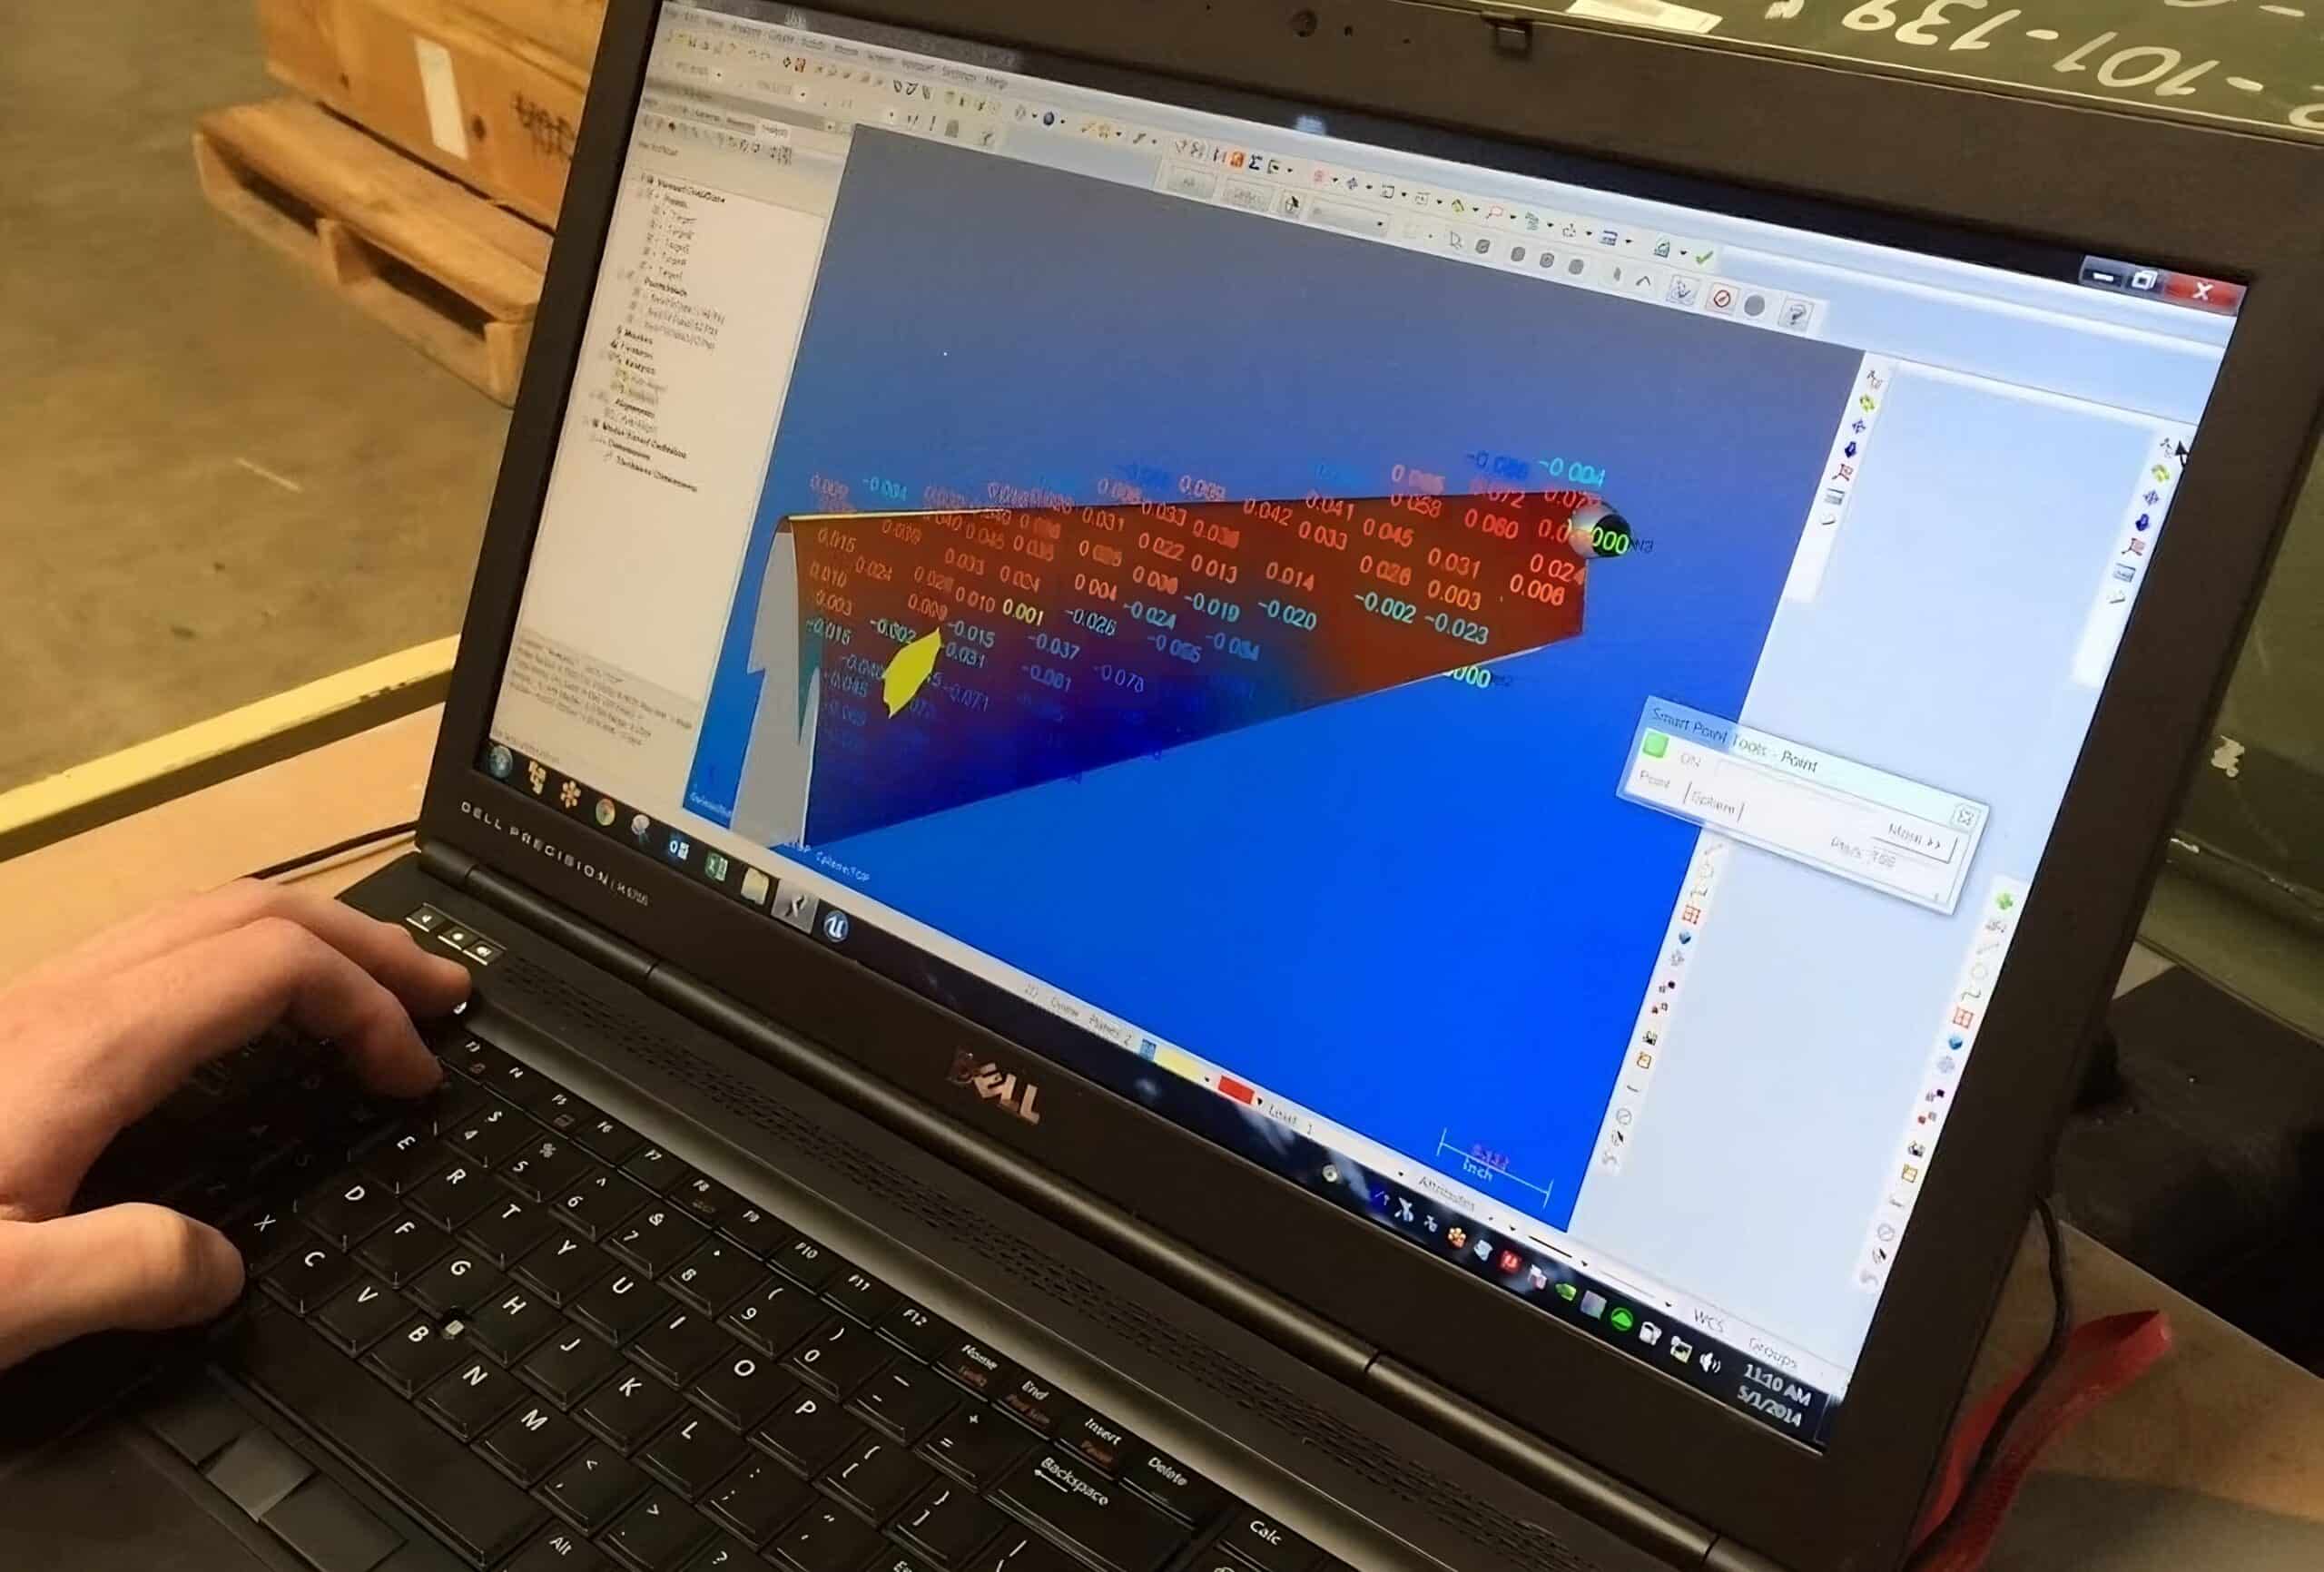
Using High-Tech Metrology technologies like photogrammetry, COC measures the individual dimensions of each LE Flap we repair. Each LE Flap is slightly different – fastener hole locations vary from one part to the next, sub-components are different from one assembly to the next.
Comprehensive Inspection Methods & Procedures
Visual inspection of the LE Flaps
Media cleaning of the complete assembly
Thorough, organized inspection using specialized procedures developed here at COC
Visual inspection in accordance with NAVAIR 01-1A-1 and related T.O.s and engineering documents
Ultrasonic Inspection performed by our NDT Inspector
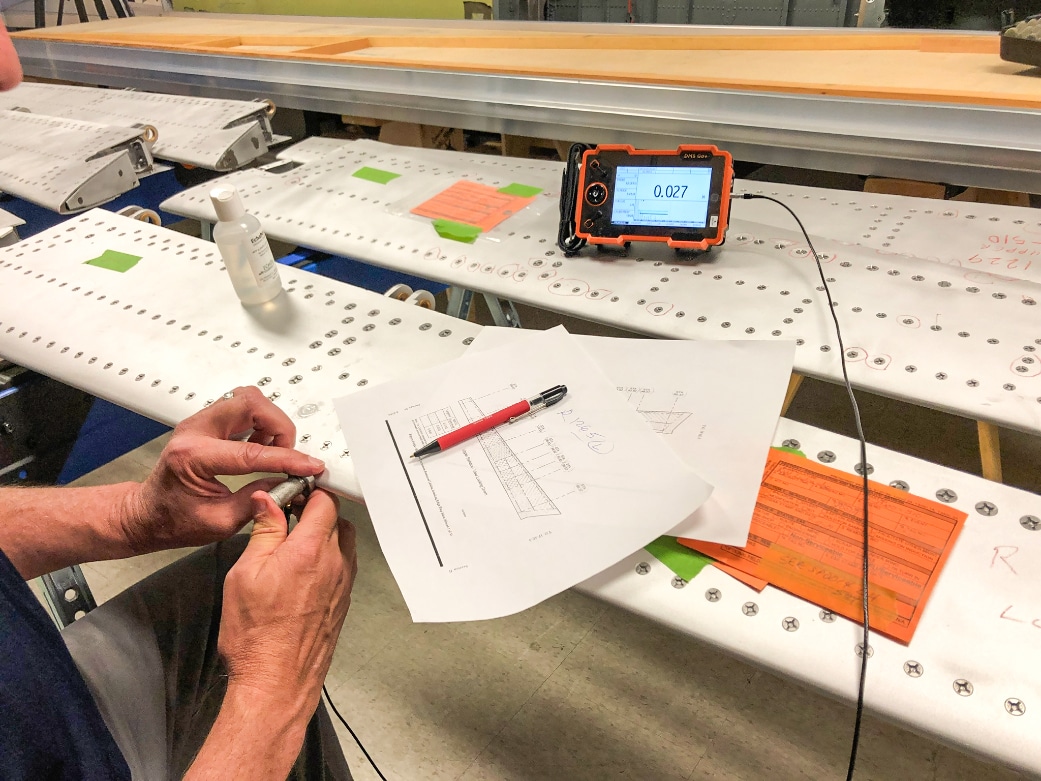
For more detailed information on our inspection process, view the ‘Inspection White Pages’ document here.
Inspection Methods & Procedures
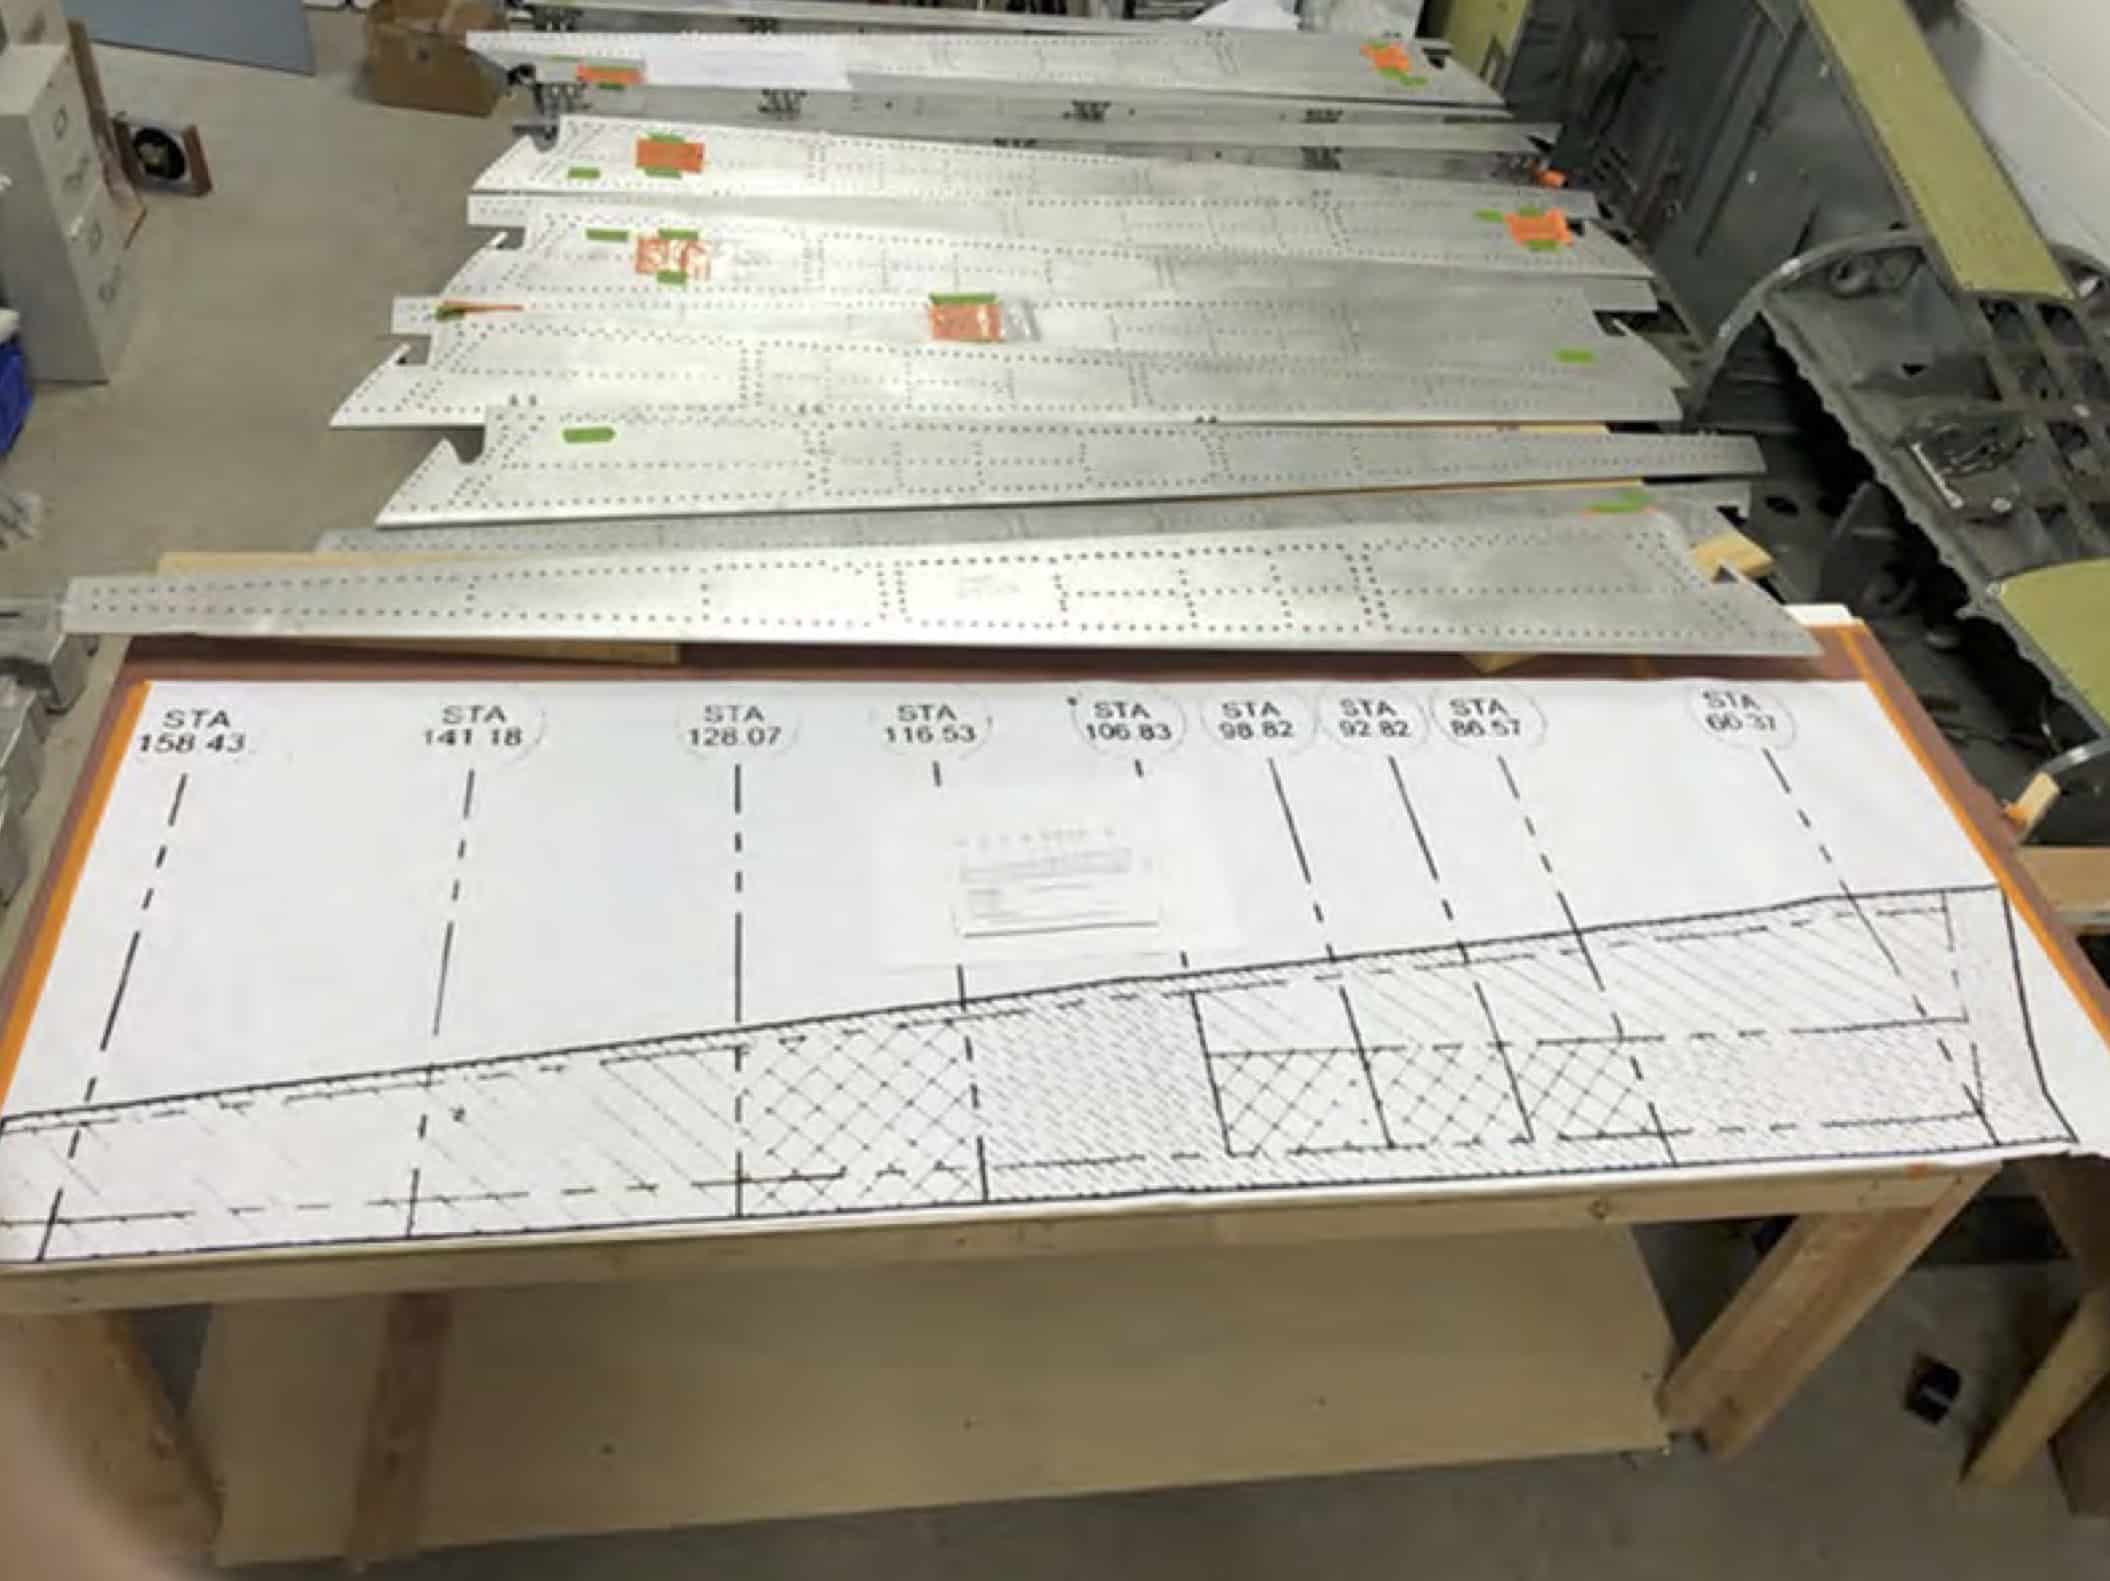
Maximum corrosion Removal Limits Diagram for LE Flap Skin
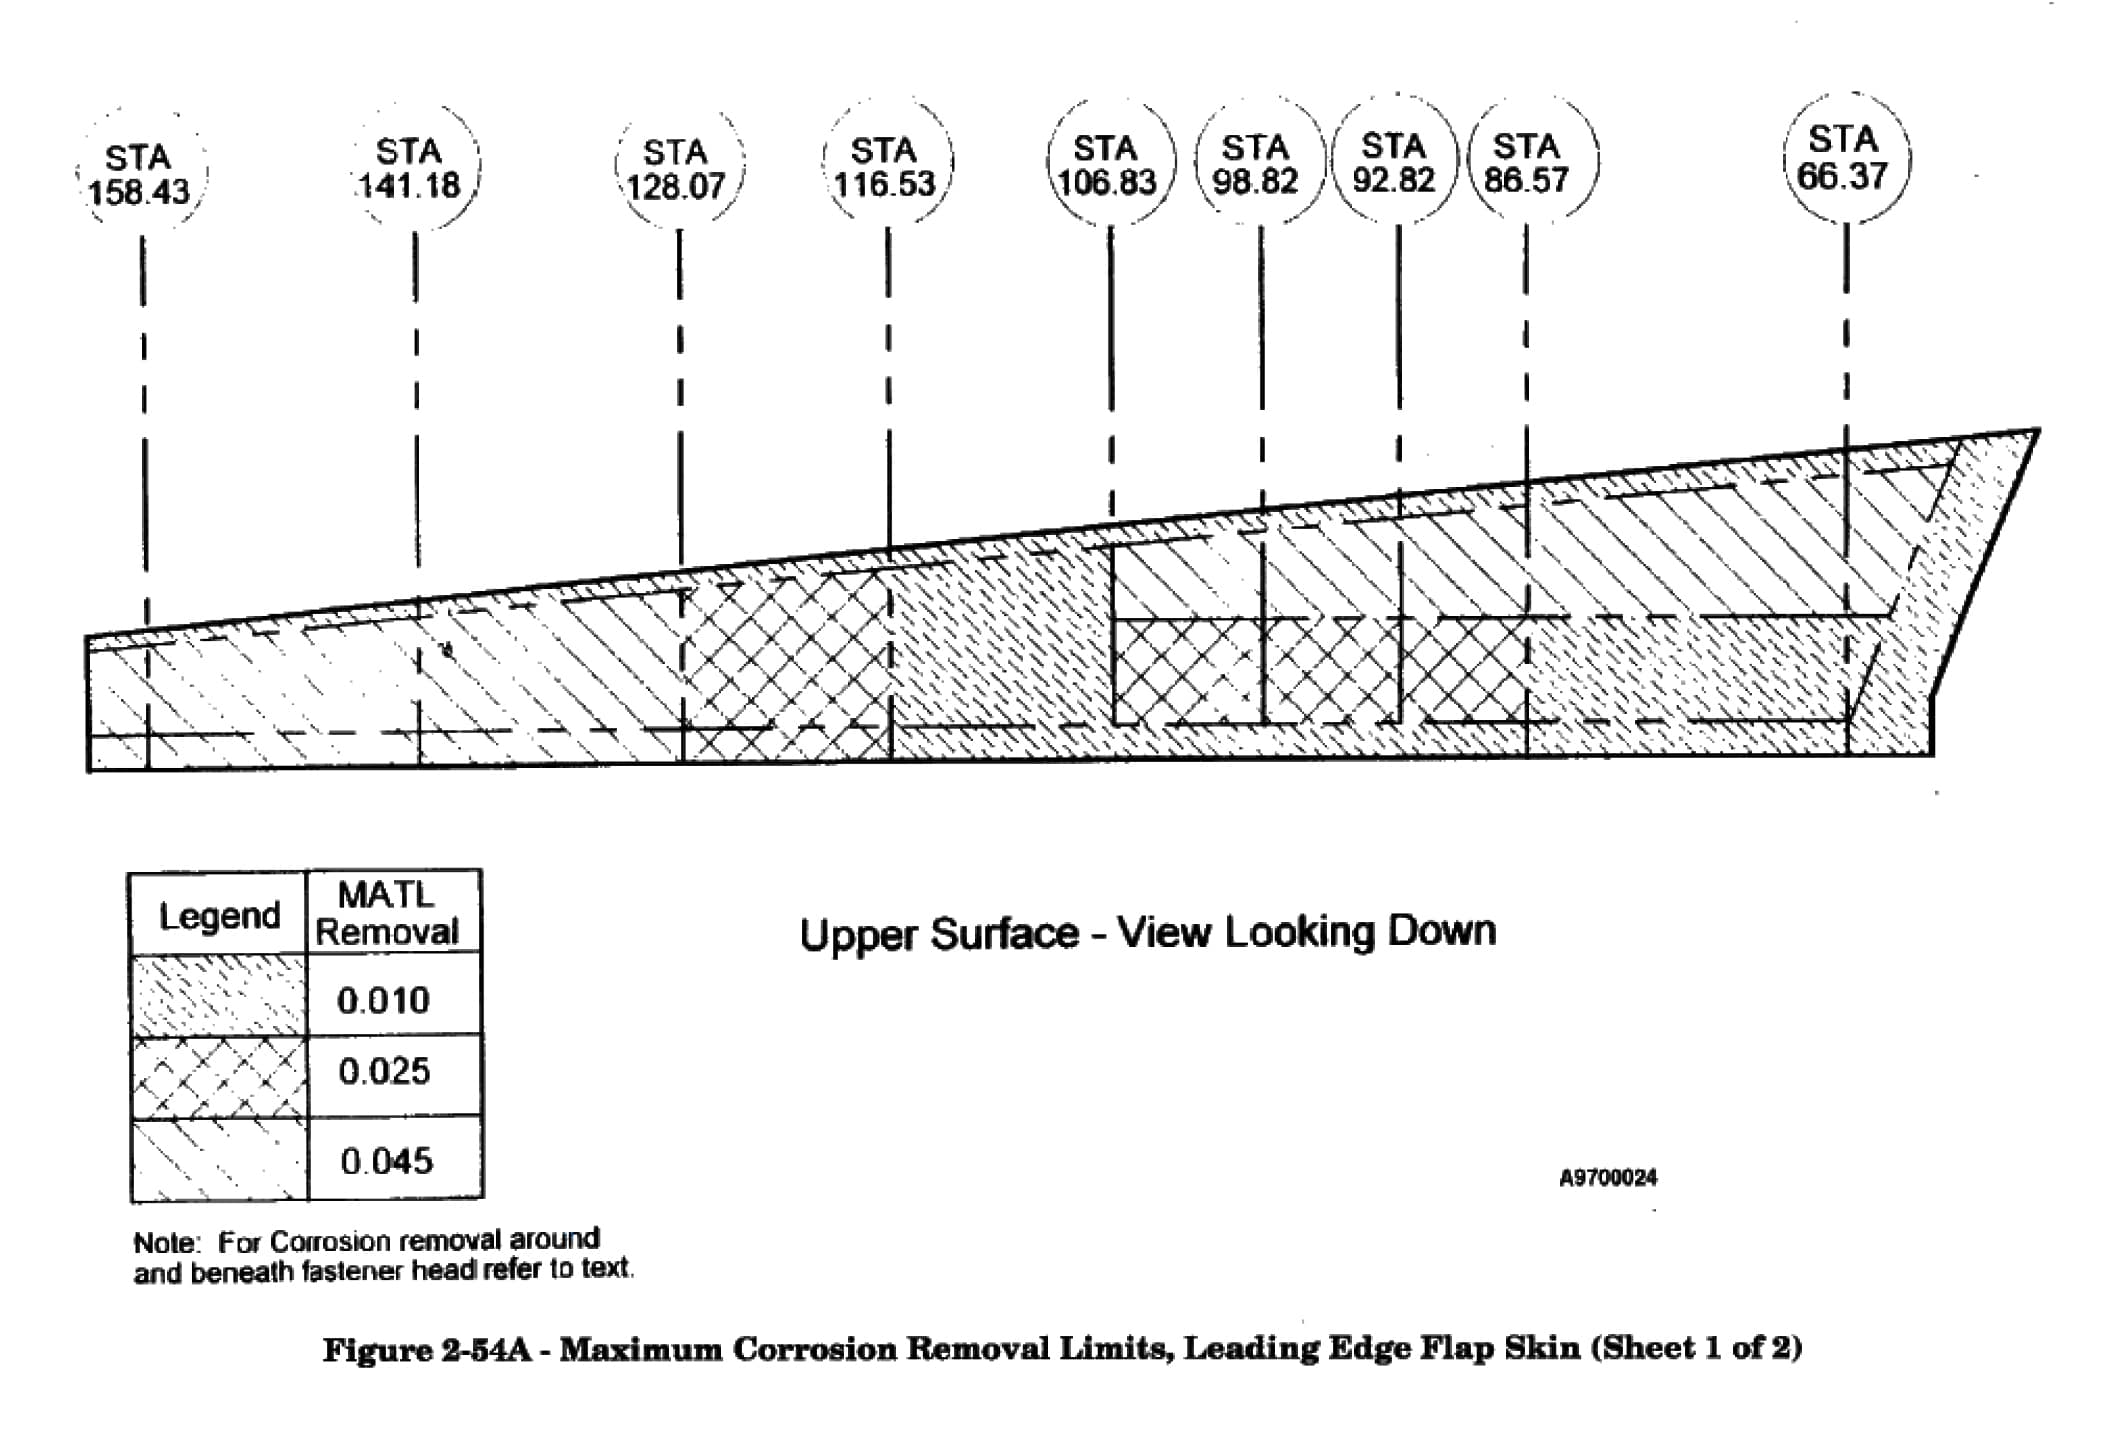
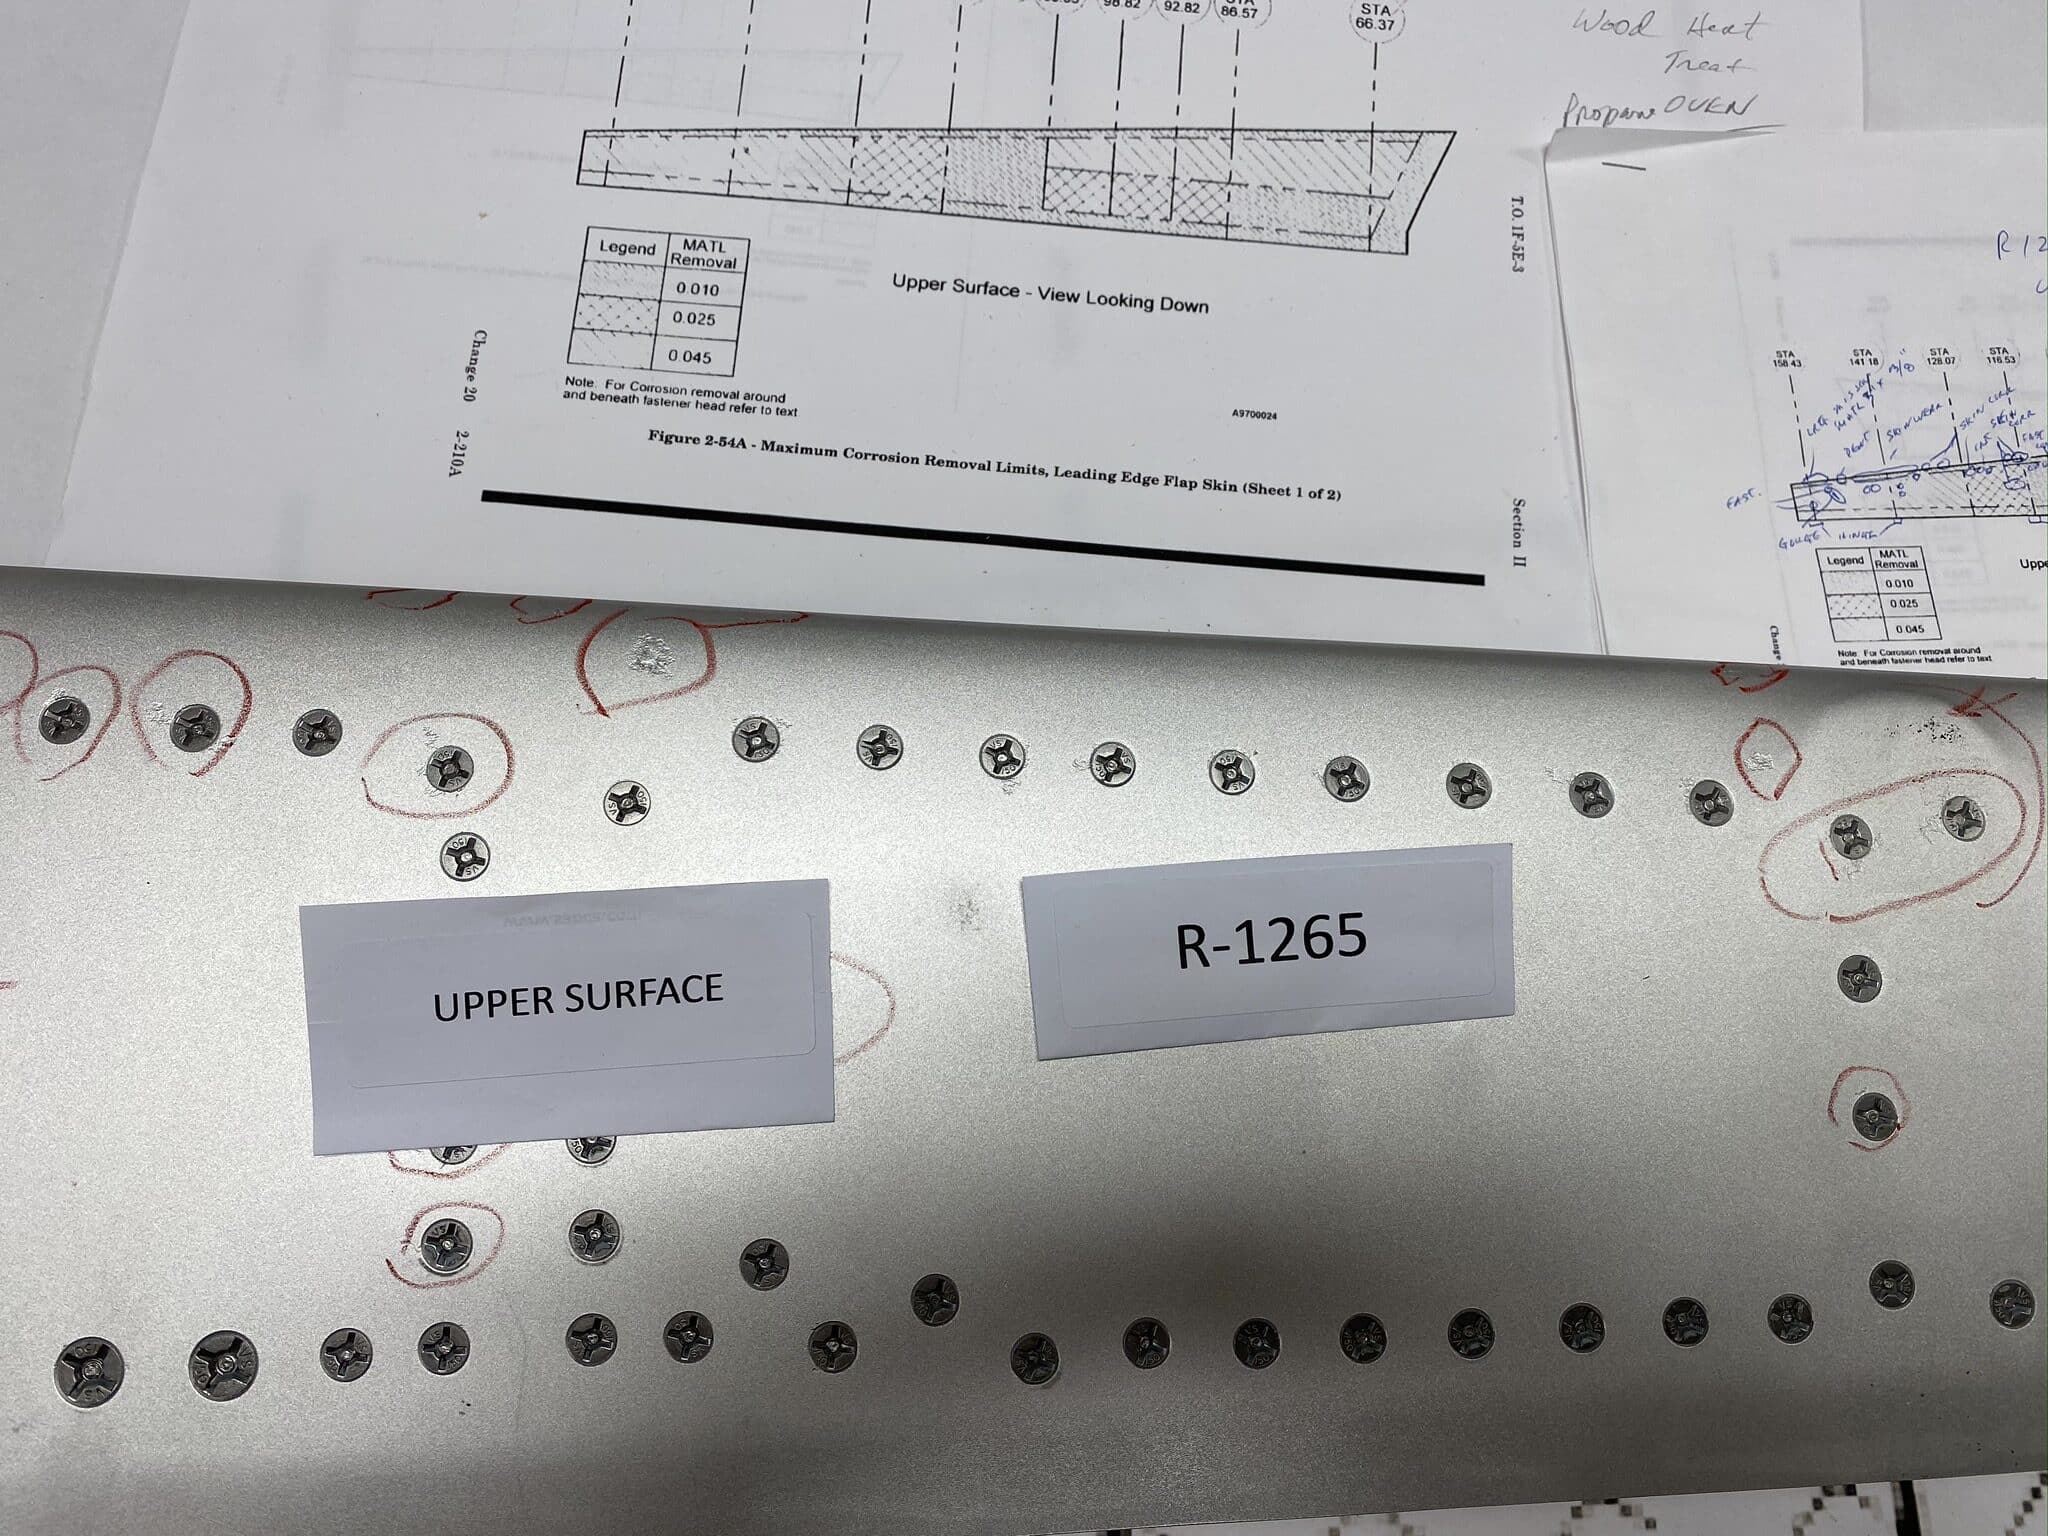
We enlarged these images ‘poster size’ to 105.5” so that the Maximum Corrosion images were the same size as the LE flaps we are inspecting.
These posters are secured onto our large work-table which makes it easy and organized to see the different size hash marks listed on the Legends Reference Tables.
Inspection Case Study
COC received a total of 15 LE Flaps for evaluation, nine (9) are RH – 509 and six (6), LH. There is one flap, R-1042 that is -508, RH.
The results of the evaluation:
- Determined whether the LE flaps should be repaired by replacing the main skin, part number 14- 27201-9 and -10, or whether the flaps should be refurbished.
- Recommended improved and more comprehensive procedures for inspecting LE Flaps on all Navy F- 5Ns.
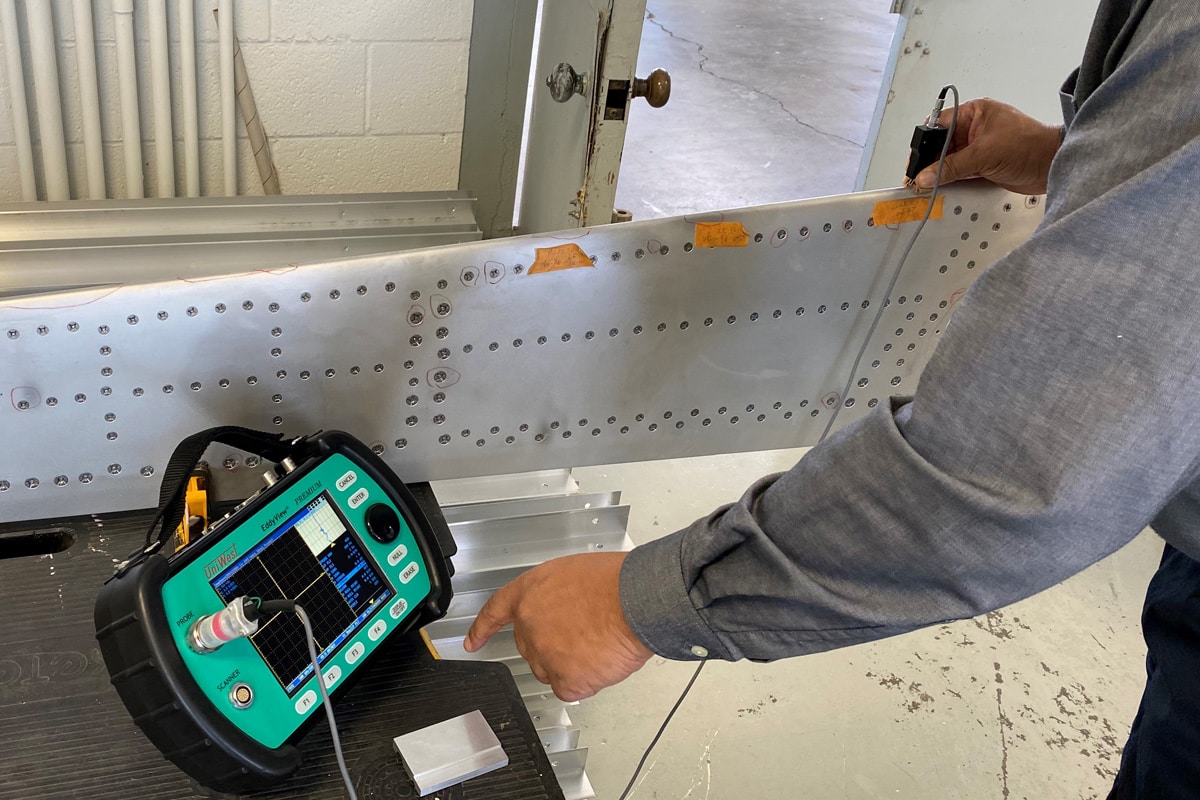
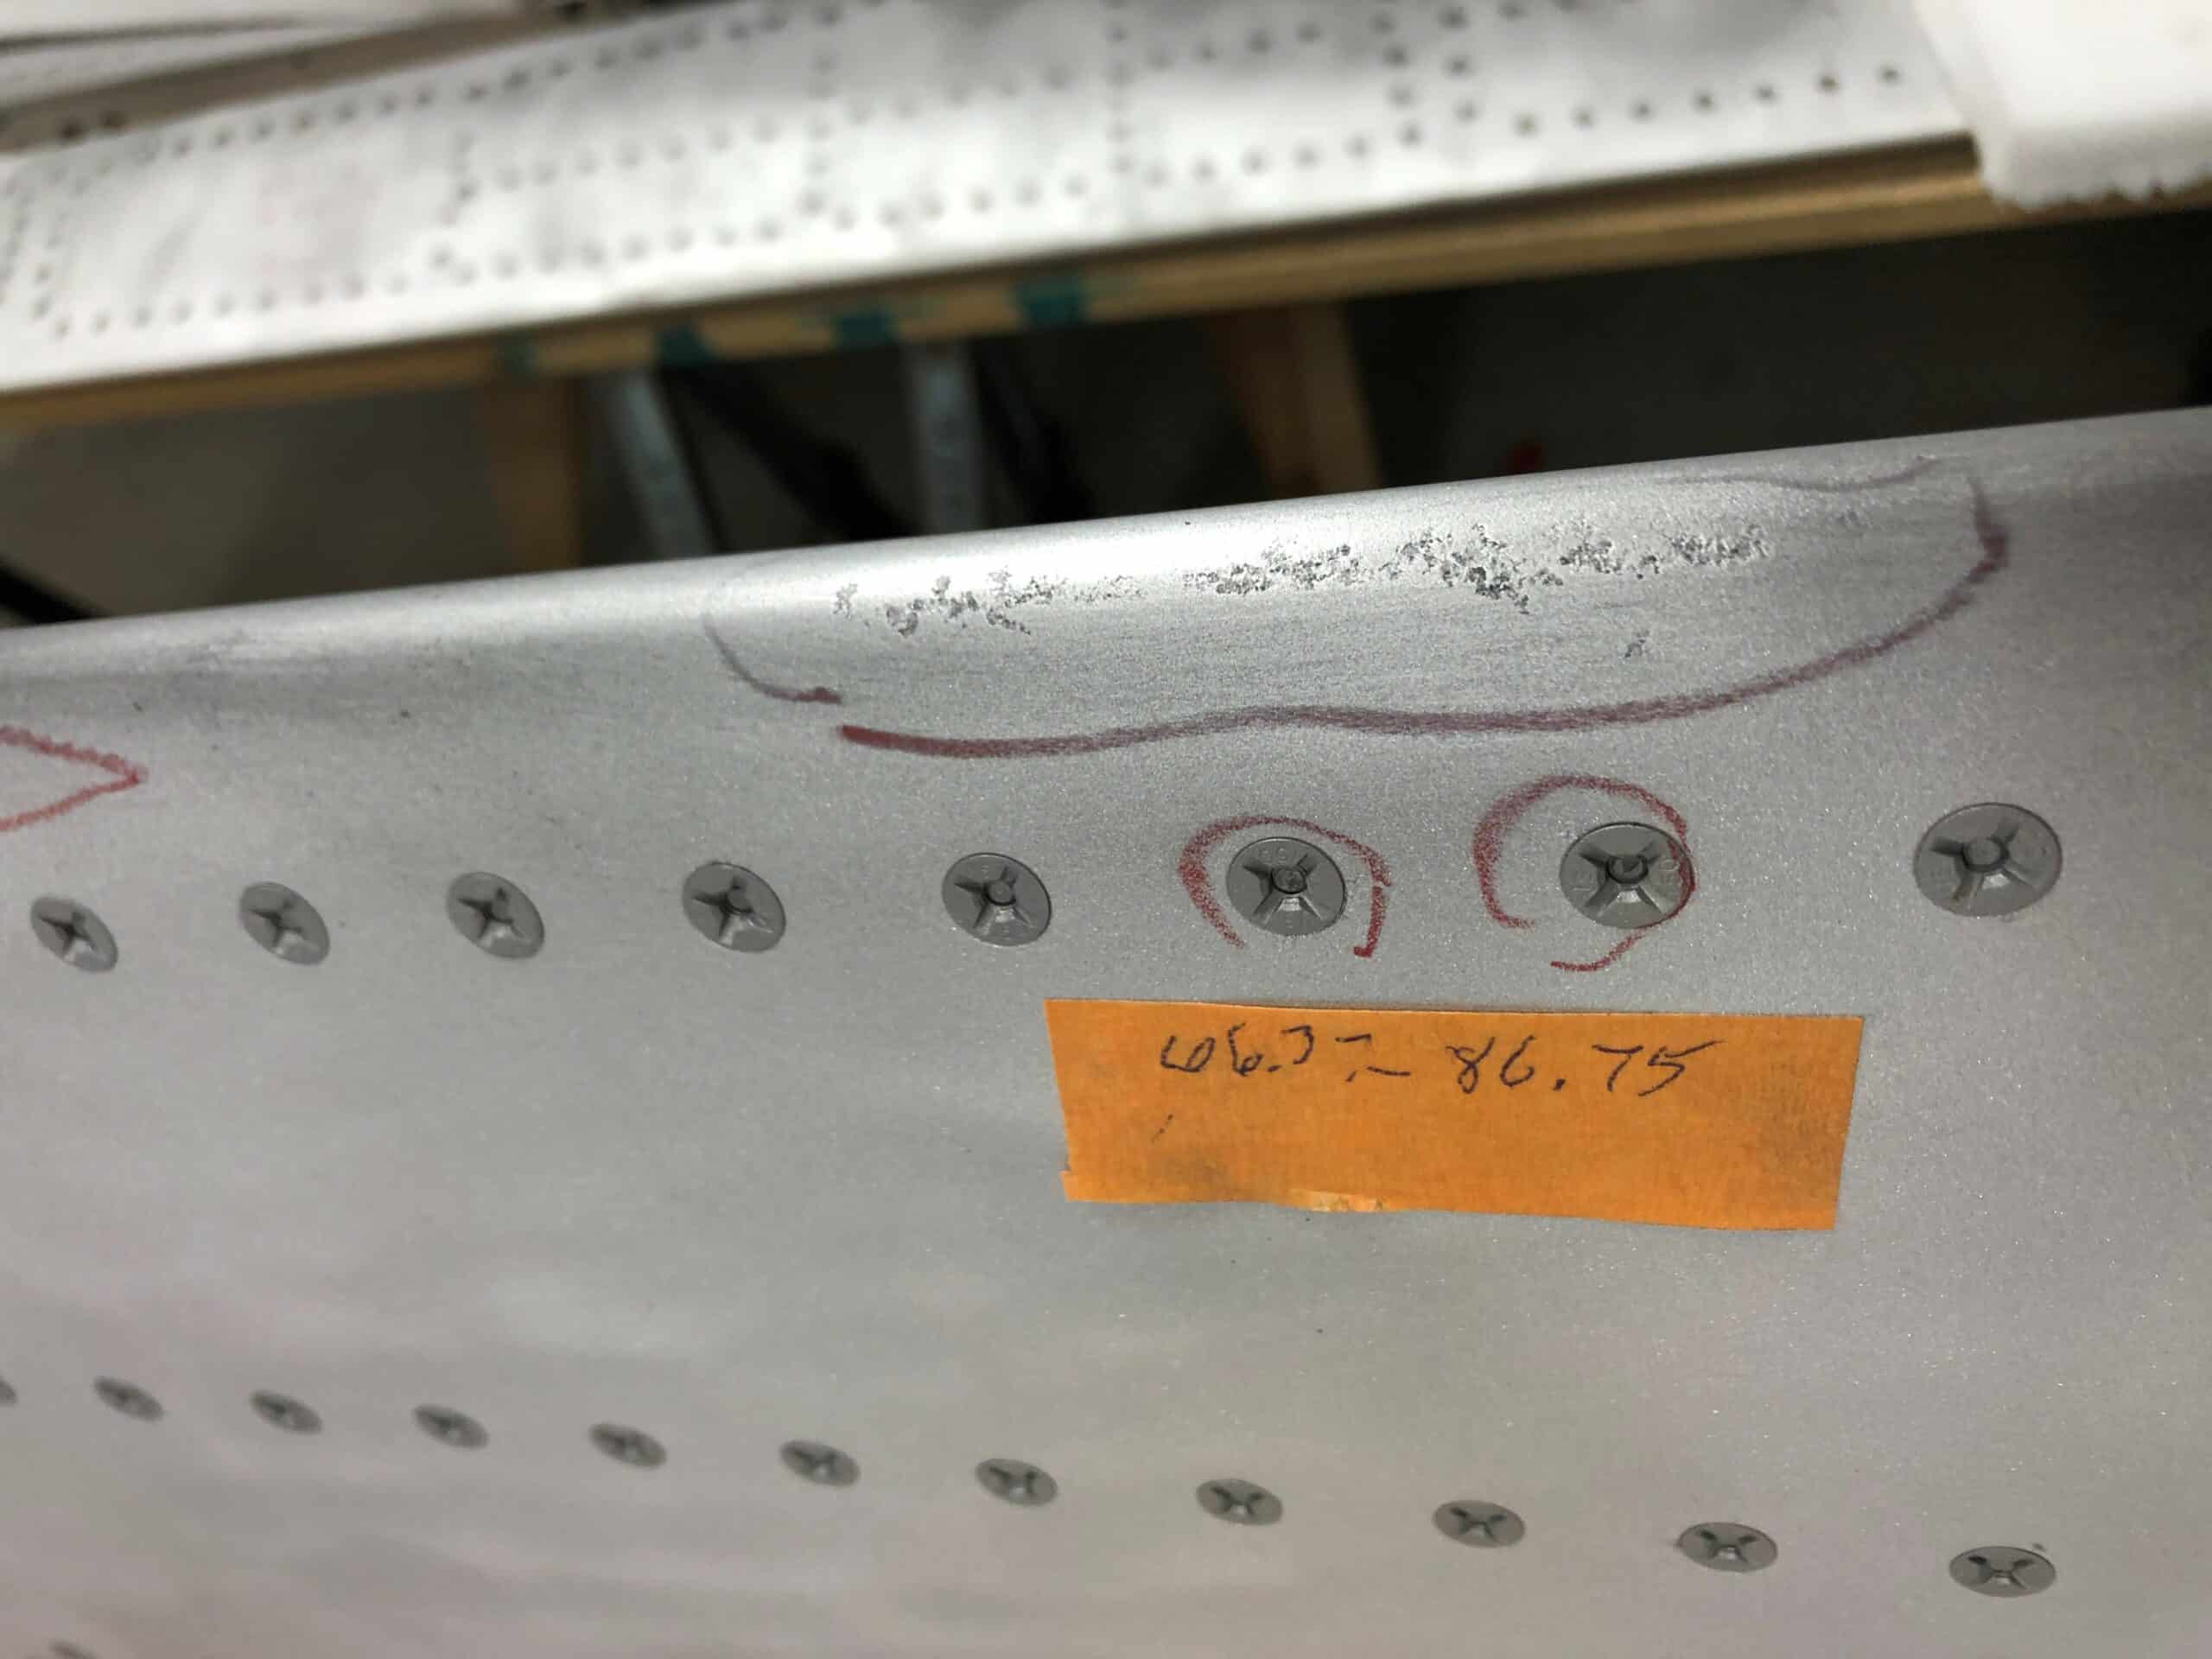
The inspections performed by COC and our level III NDT Inspector showed a pattern of wear and corrosion that seemed to be the same on all the flaps inspected.
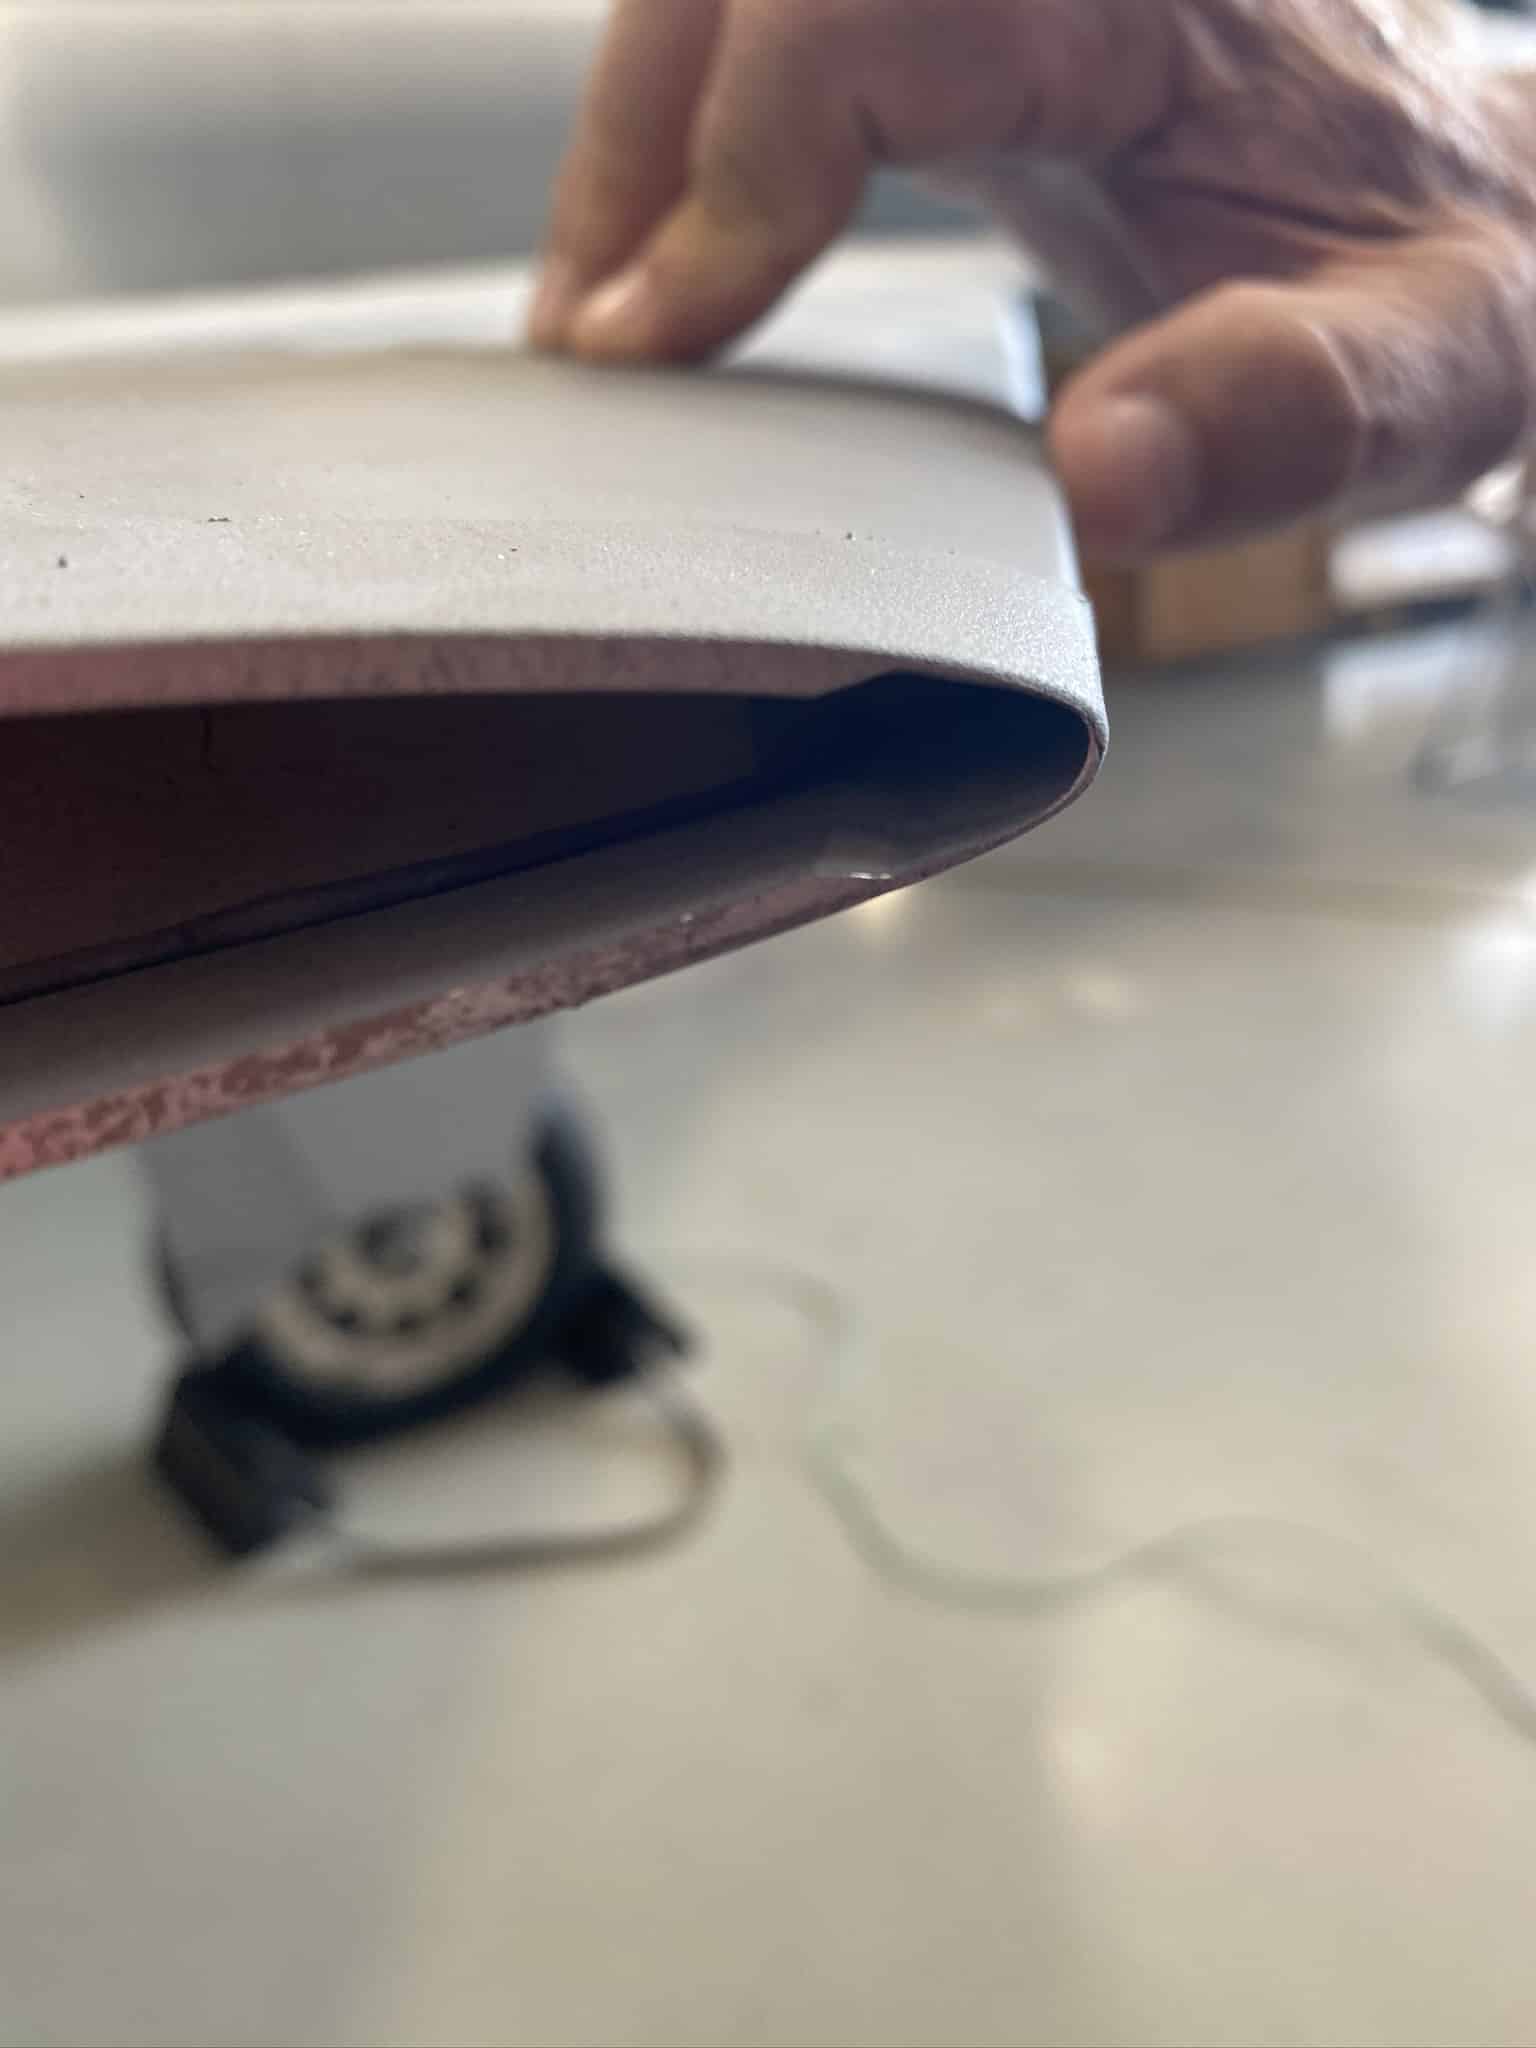
- Leading Edge skins are formed from 7075 aluminum sheet, 0.125”. In order to obtain the bend radius at the leading edge, the 0.125” material is tapered from 0.125” to 0.057” at the wing root to .025 at the tip.
- The limits of material removal, or material wear and corrosion, is 0.010” at the extreme leading edge. The fact that the material is tapered down, 0.057” to 0.025”, there isn’t very much leeway for wear and corrosion.
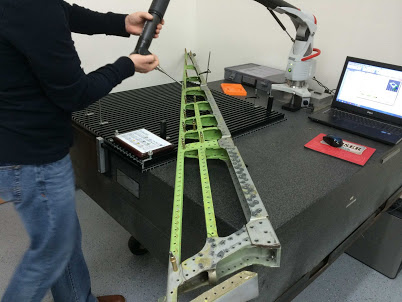
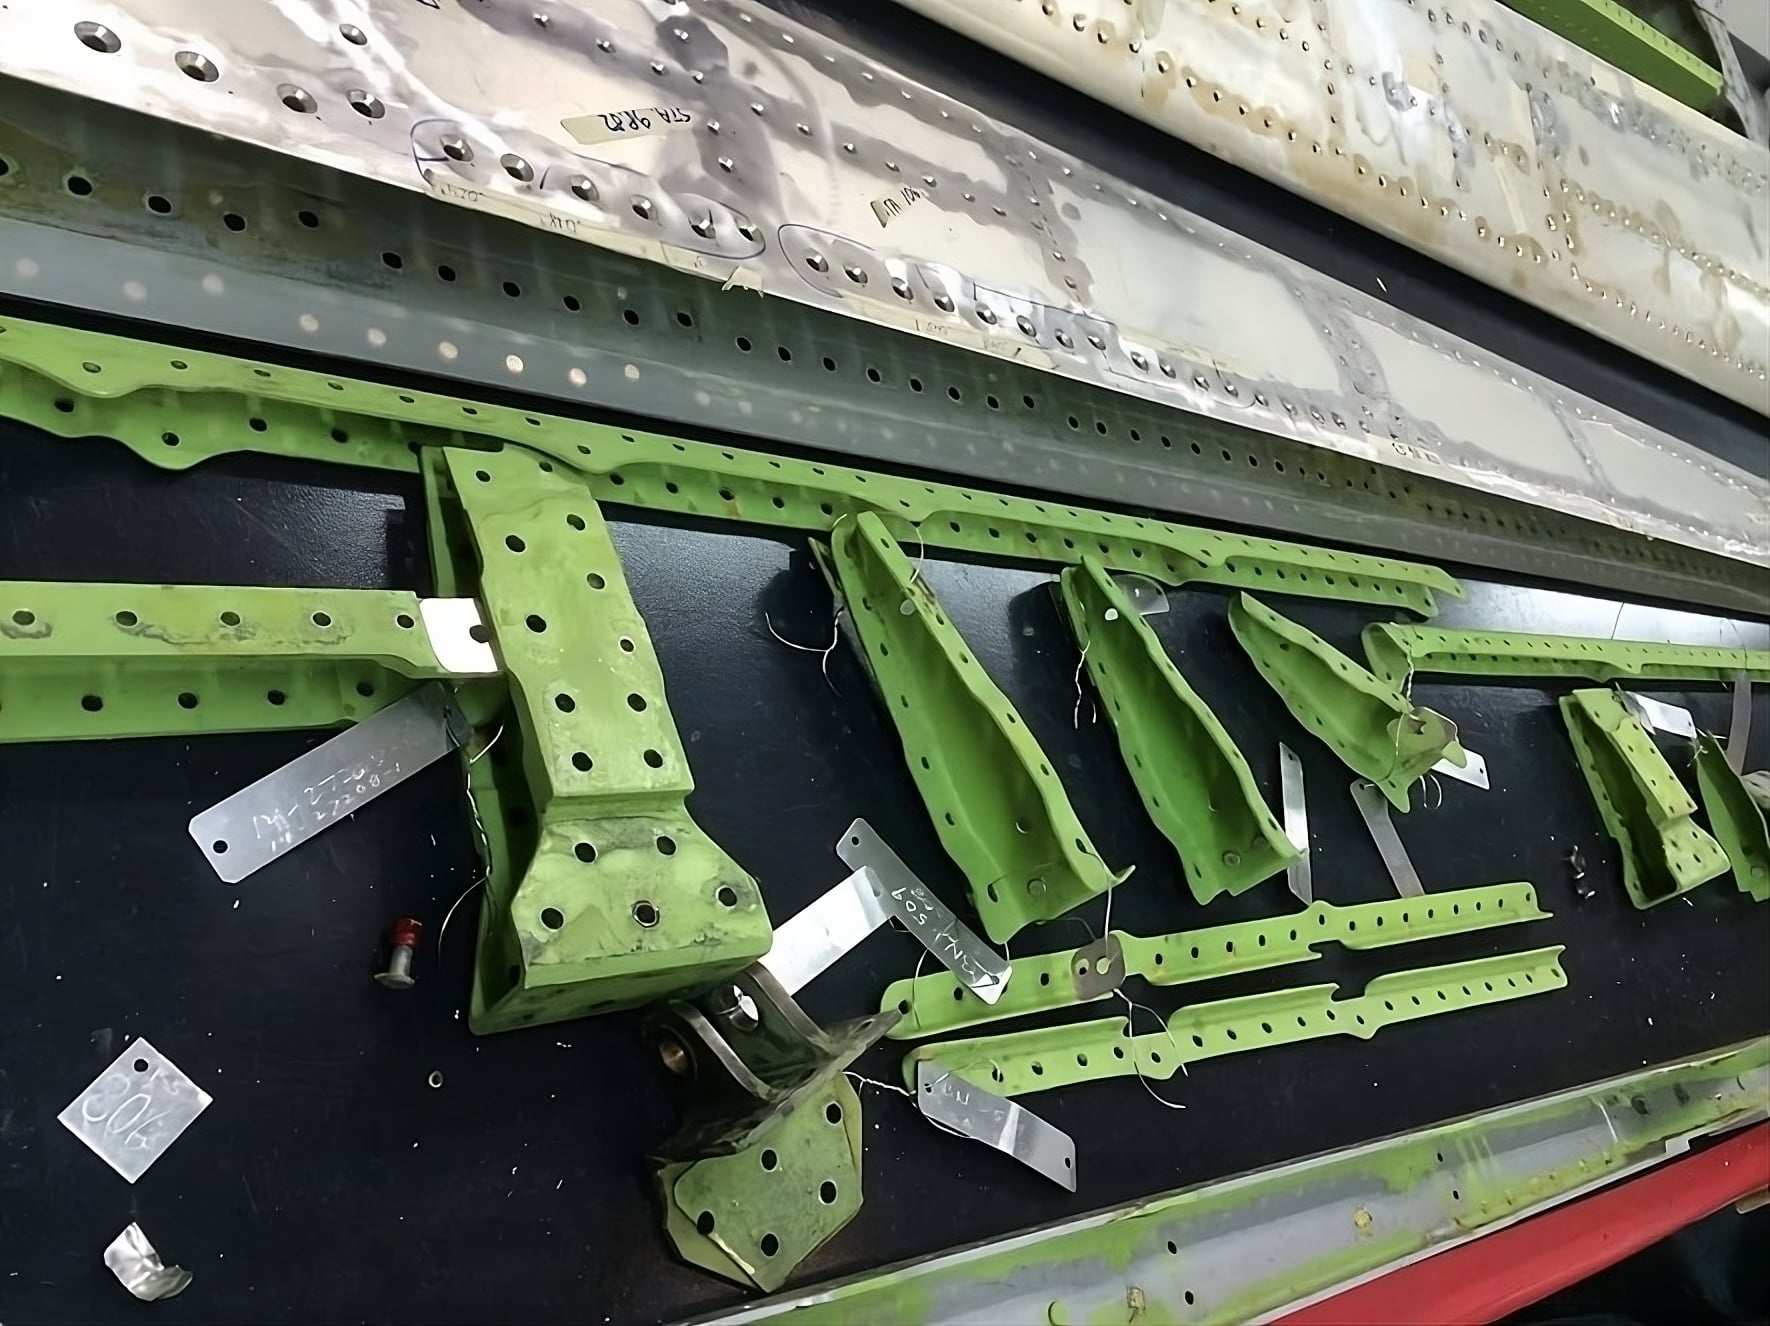
Disassembly and Development
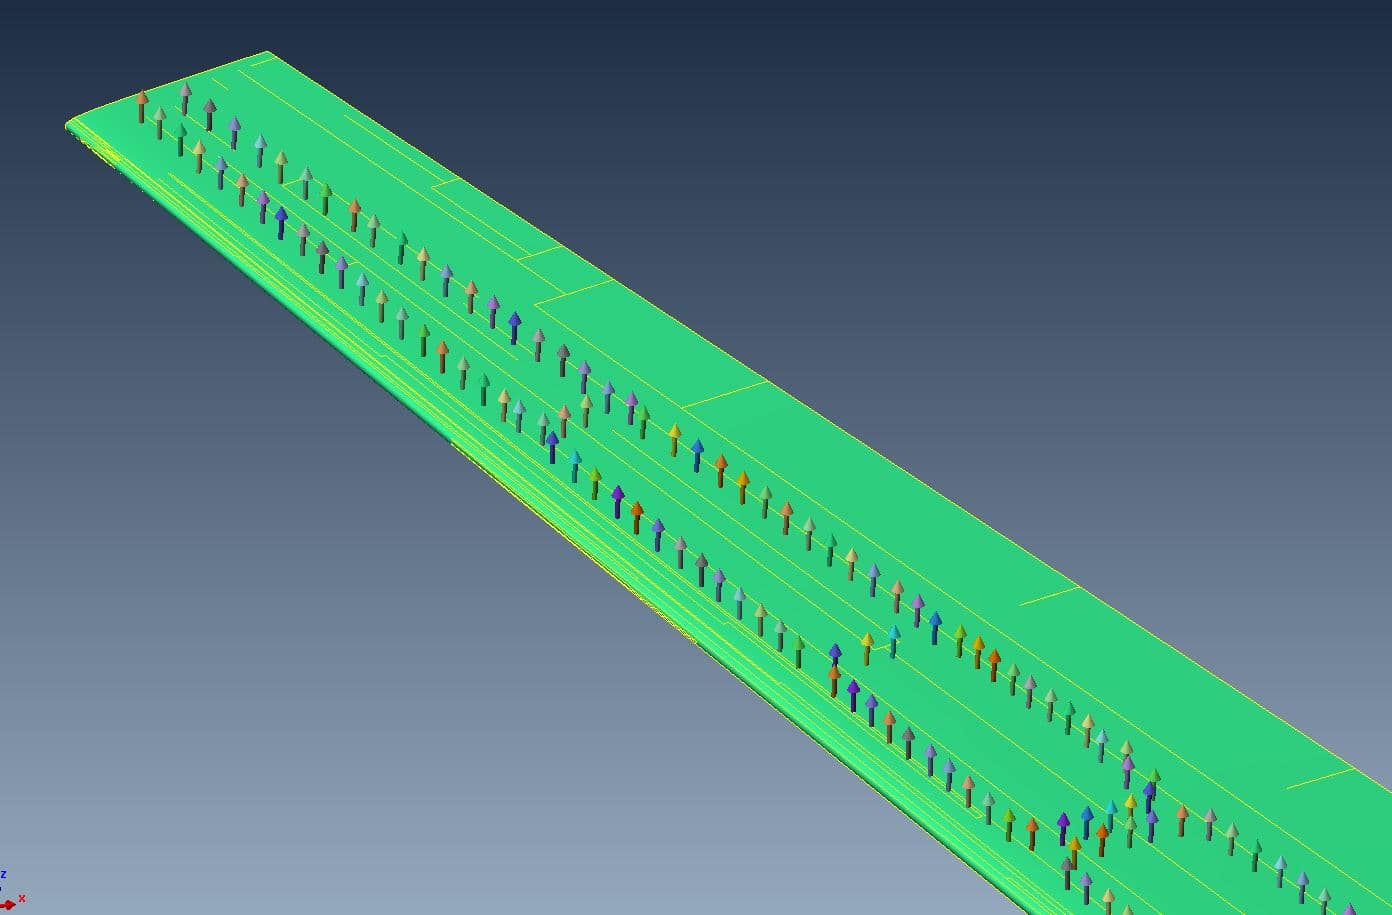
By 3D measuring the fastener hole locations with photogrammetry, each LE Flap fastener hole can be located to NIST calibrated 0.002” of an inch.
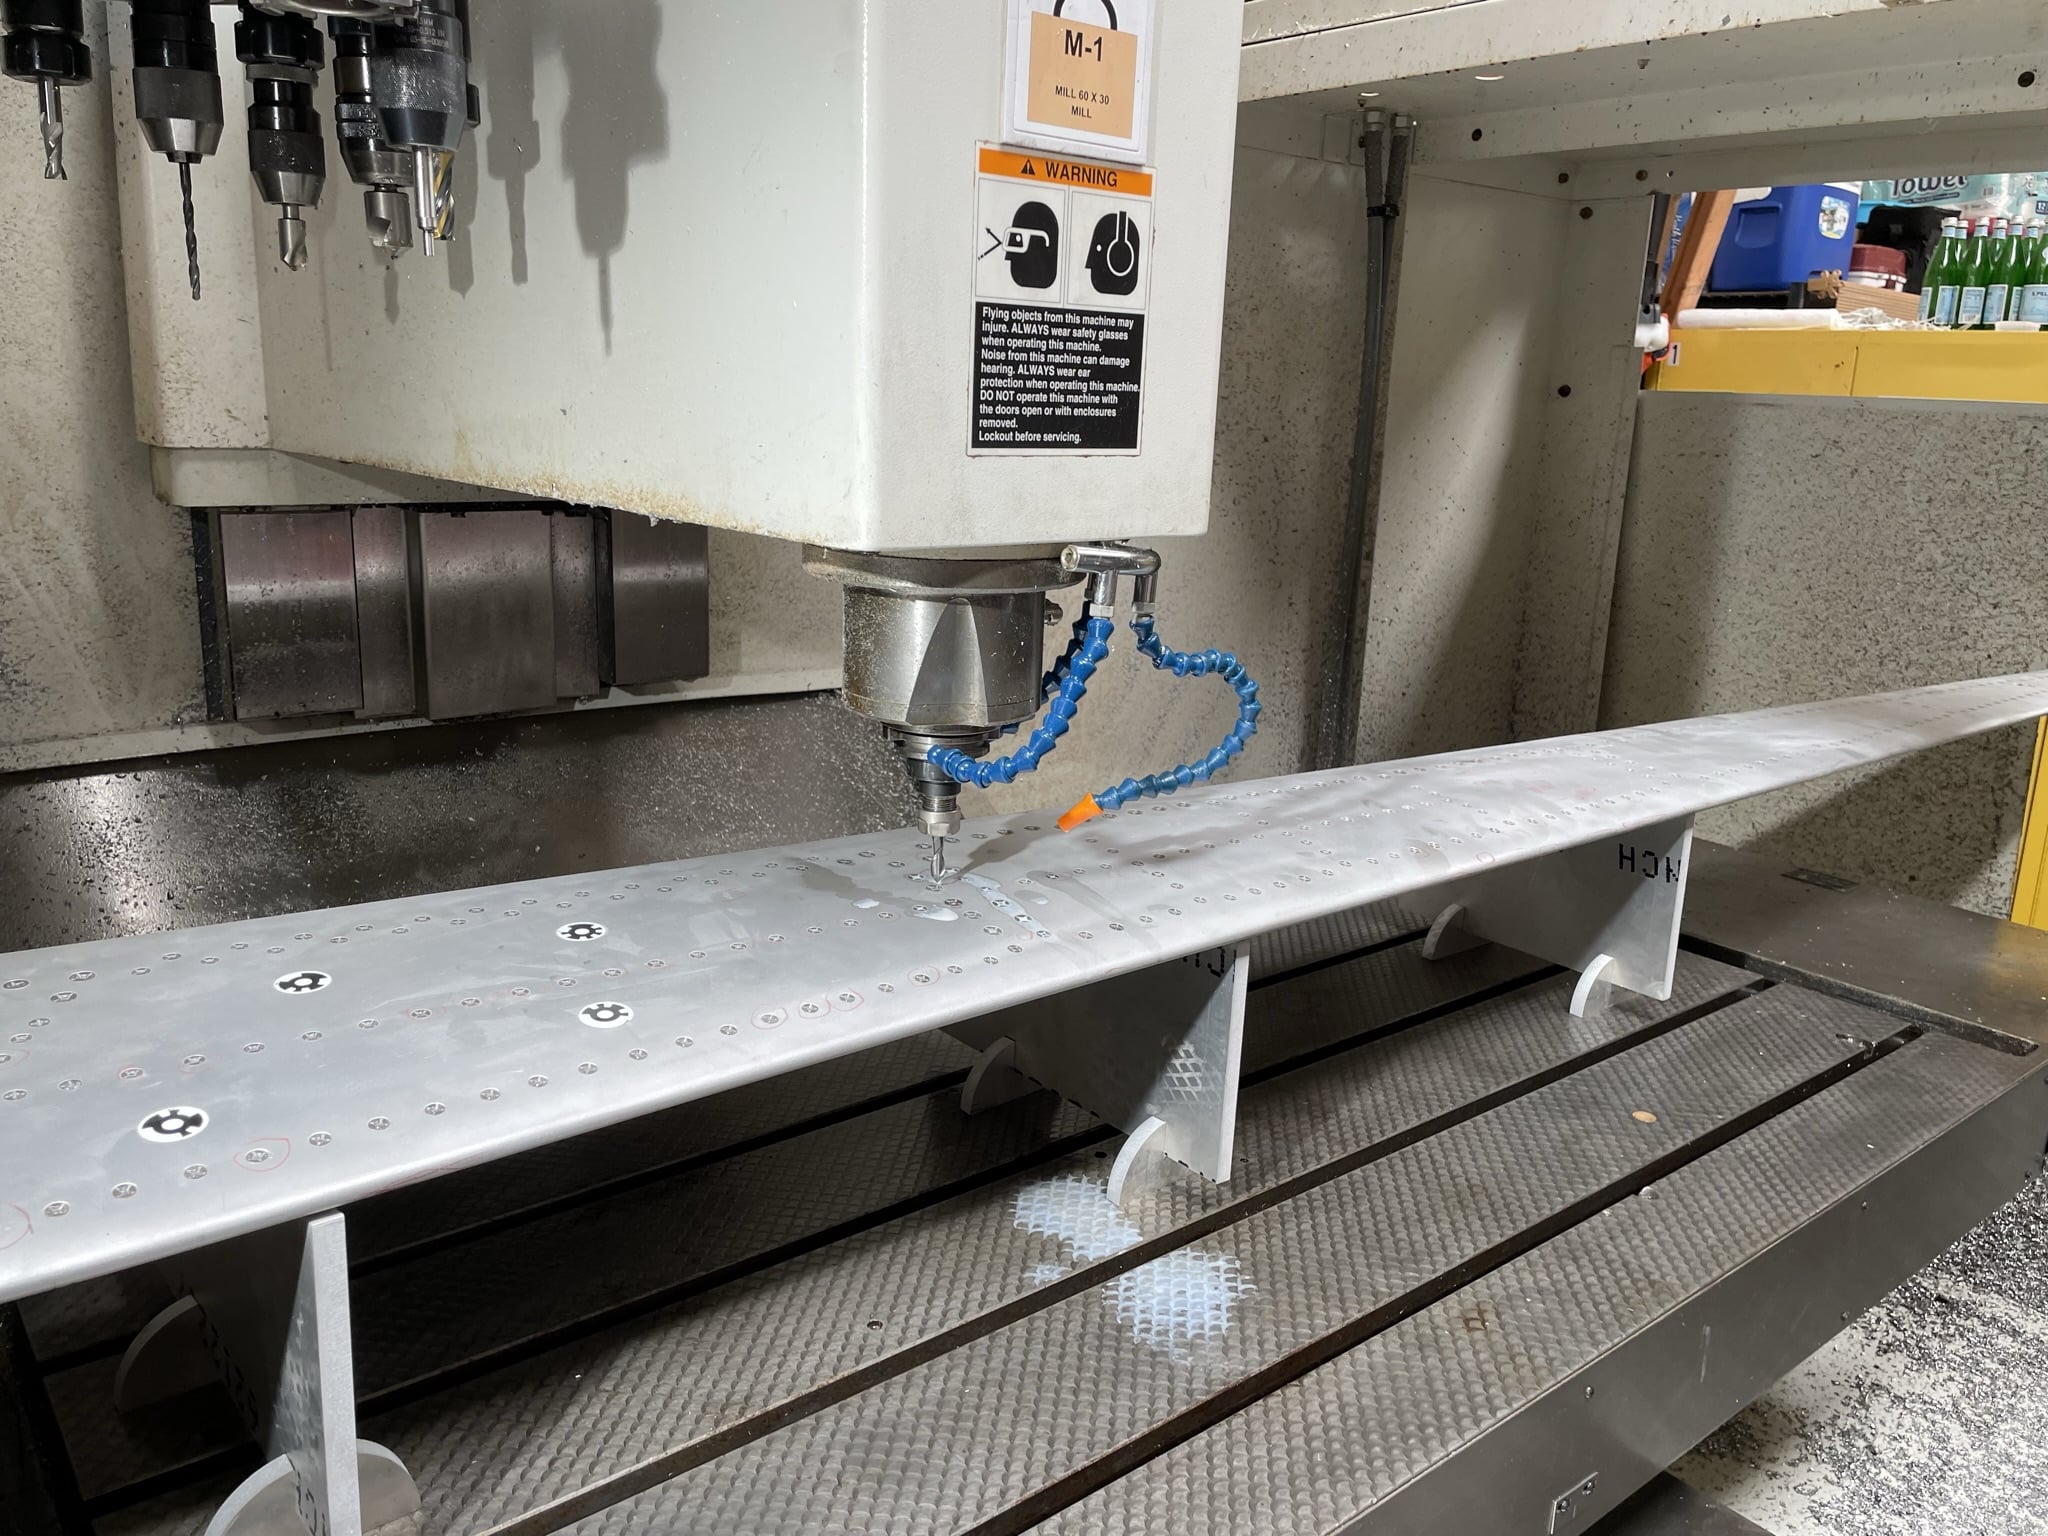
The 'point-clouds' are converted to CAD. This data is programmed into our CNC mill. Then the fasteners are machined out
This saves time and eliminates possible part damage that can occur with manual fastener removal.
Testing and Reprocessing
All of the parts are NDT tested and dimensionally checked to the original OEM drawings, specifications and material processes including media-clean to Mil-Spec MIL-P-85891B.
The parts that pass inspection are reprocessed exactly the same as when they were first manufactured.
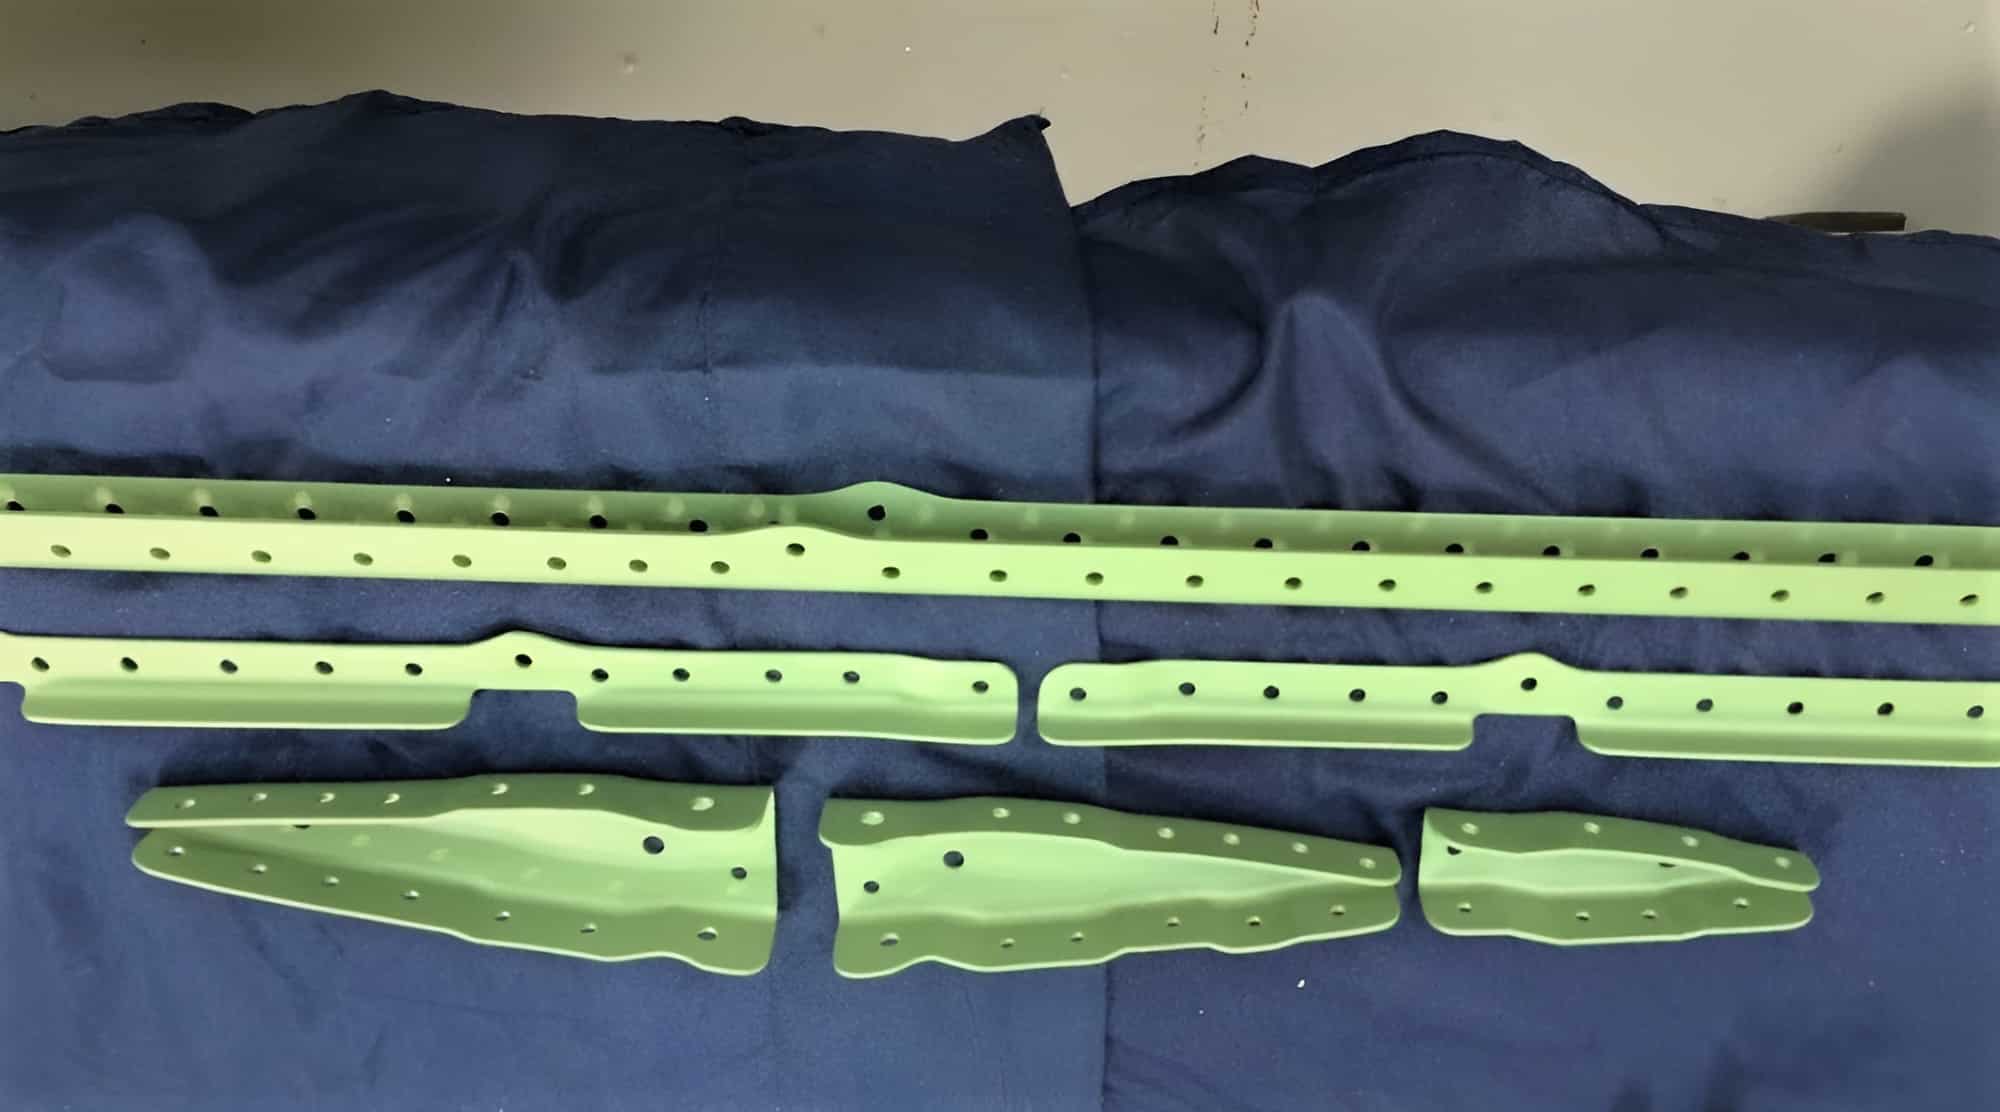
Reassembly and Completion
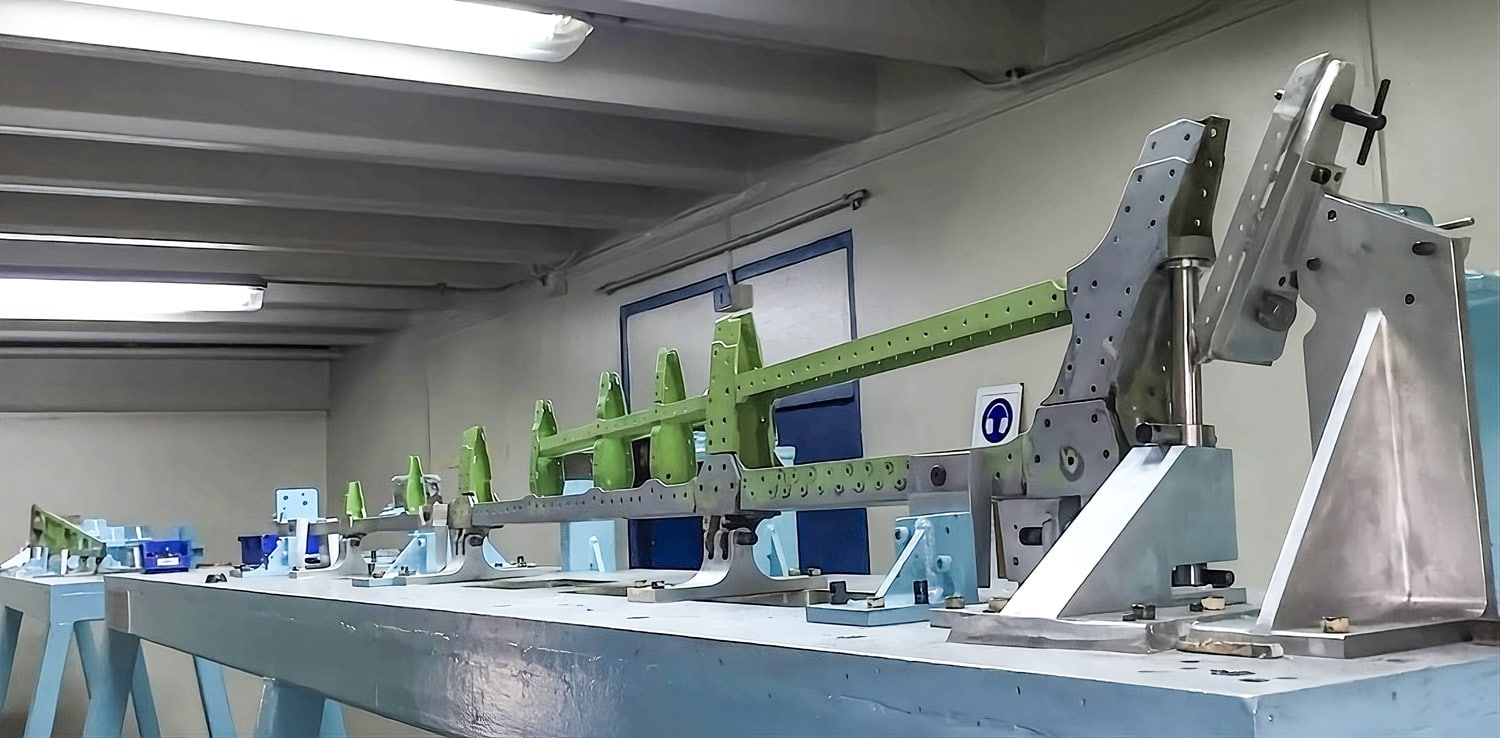
Parts like the Skins are replaced with new parts and then re-assembled with all new hardware.
Aircraft are returned to flight service four (4) times faster at a savings of over 50% of replacing flaps with new assemblies.

Thank You
EXPERIENCE - OVER 5 DECADES YEARS SUPPORTING LEGACY AIRCRAFT
CUSTOMER SERVICE - OVER 50 YEARS SUPPORTING THE SAME CUSTOMERS
TRUST - ABOVE ALL, WE ALWAYS DO THE RIGHT THING

